|
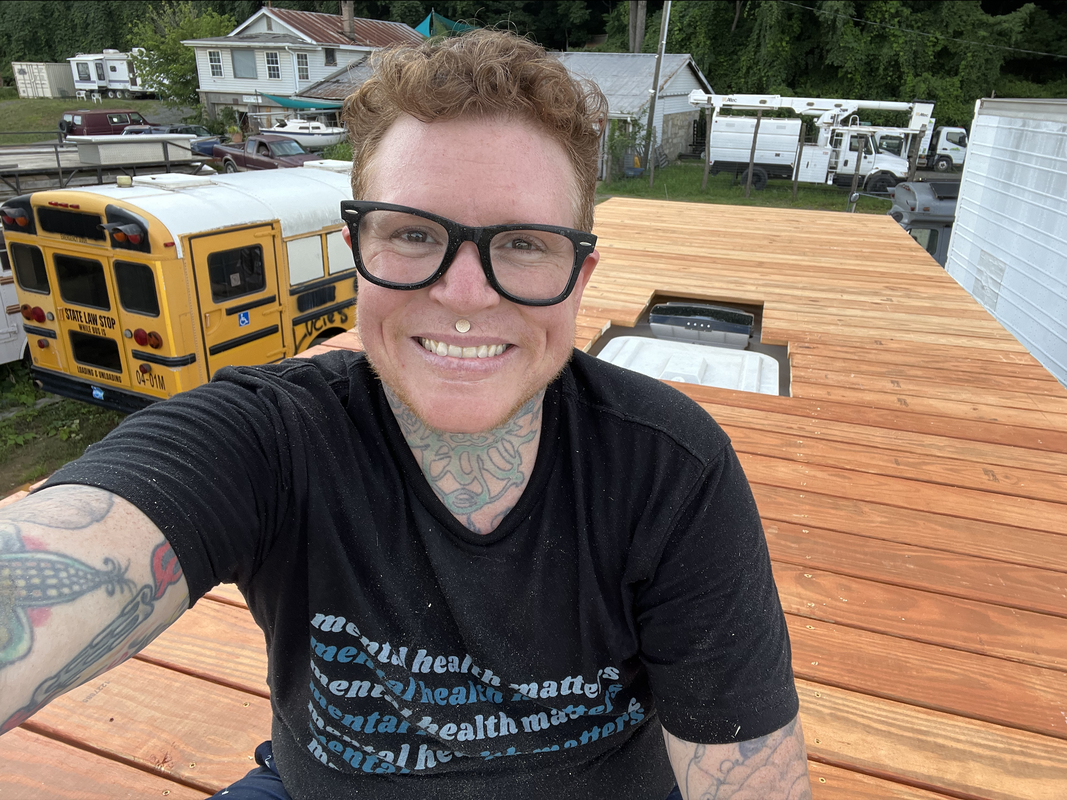
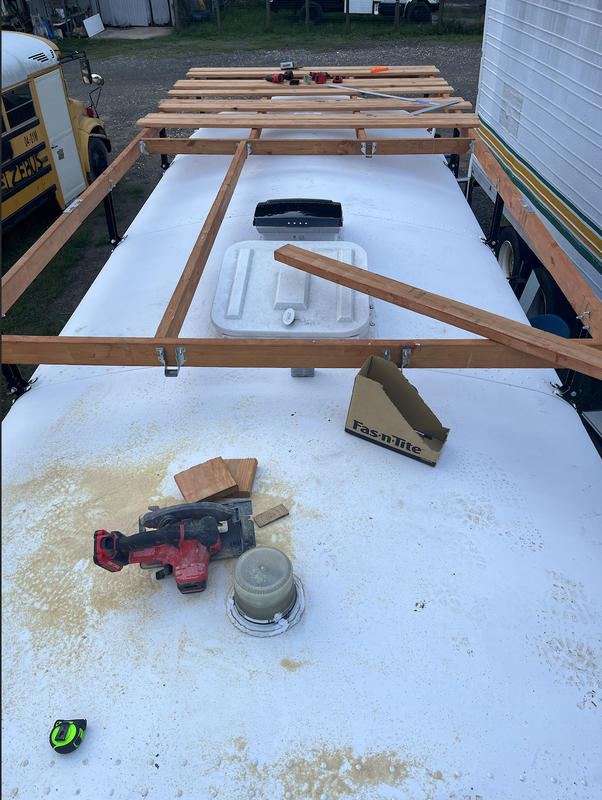
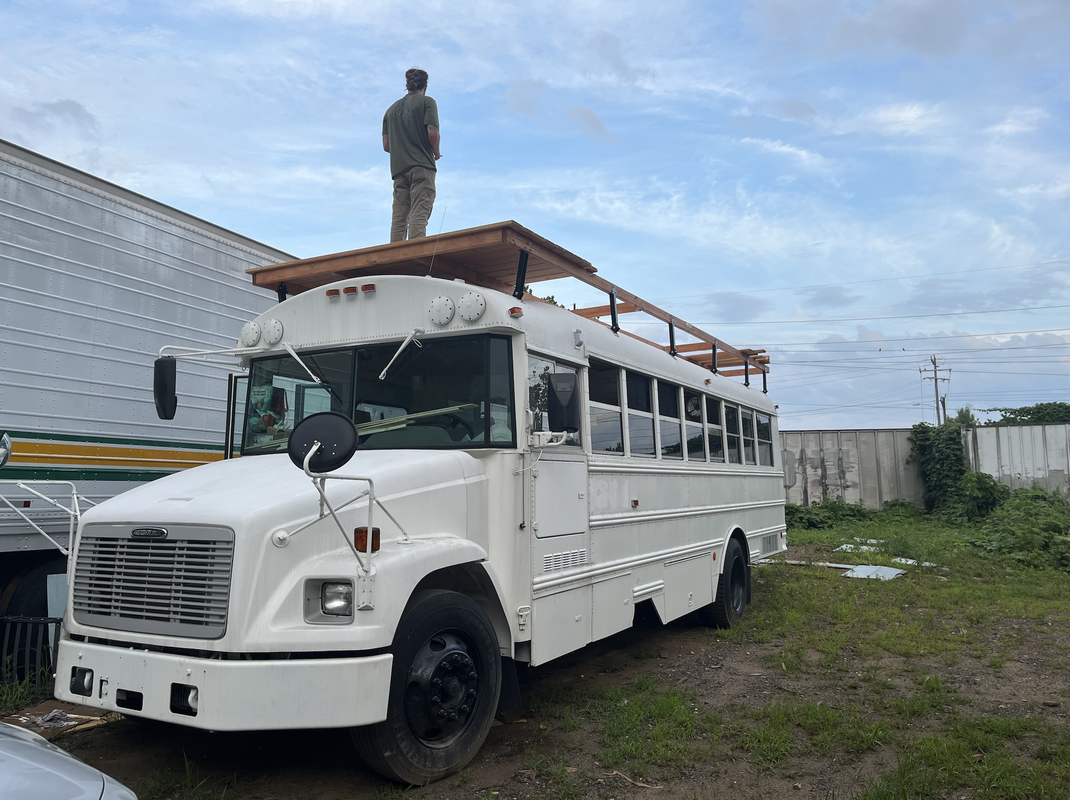
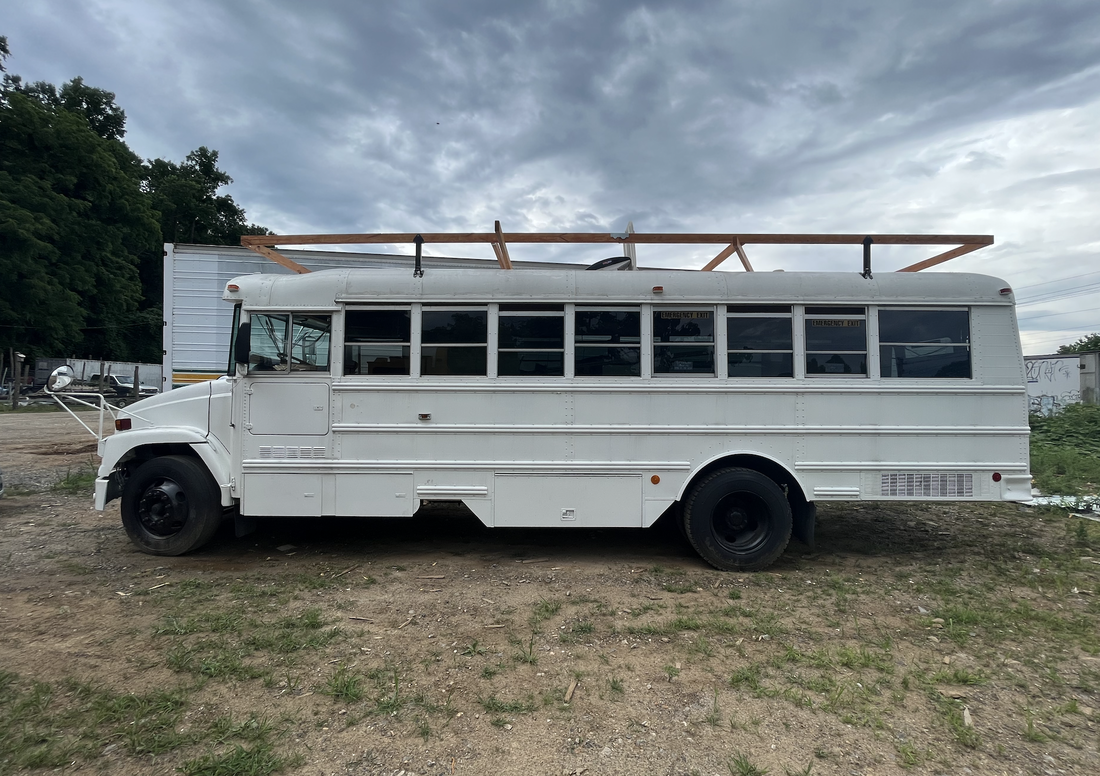
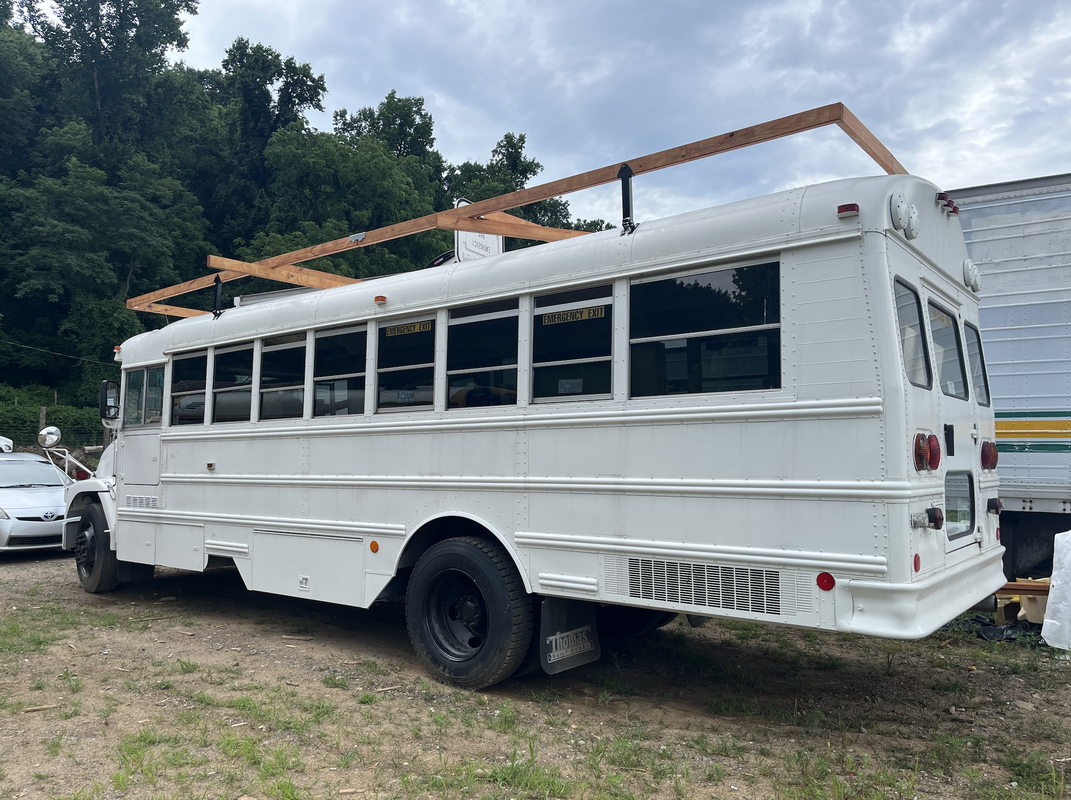
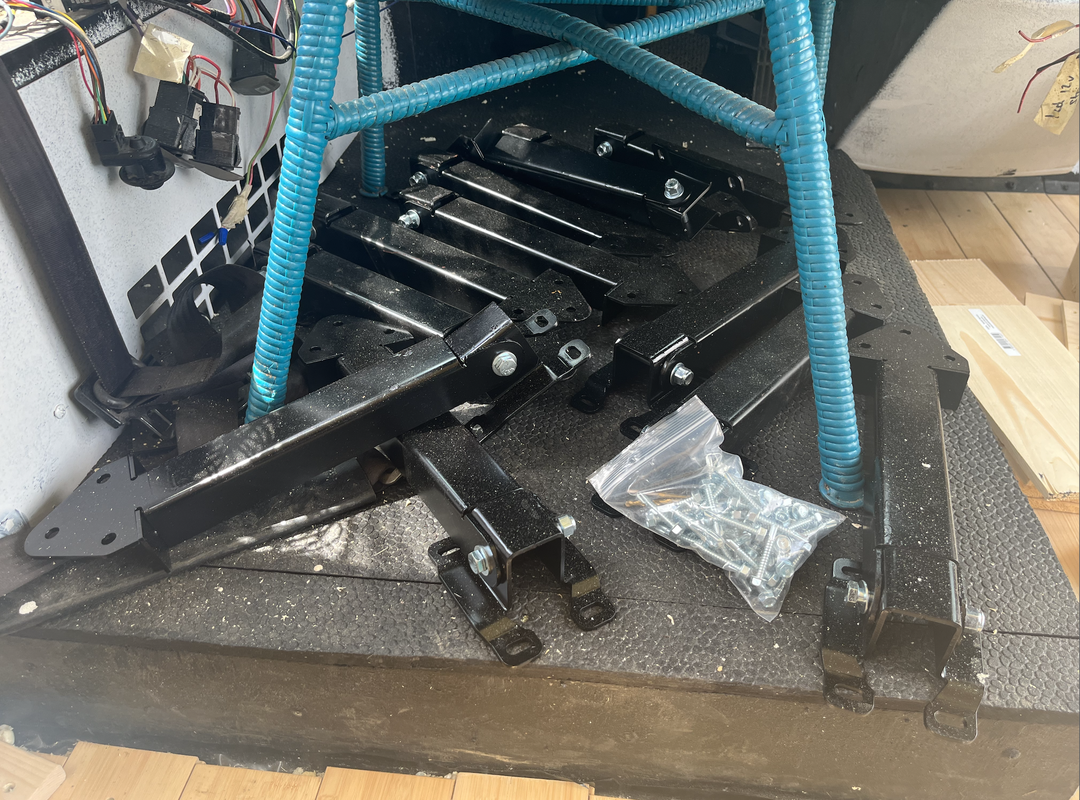
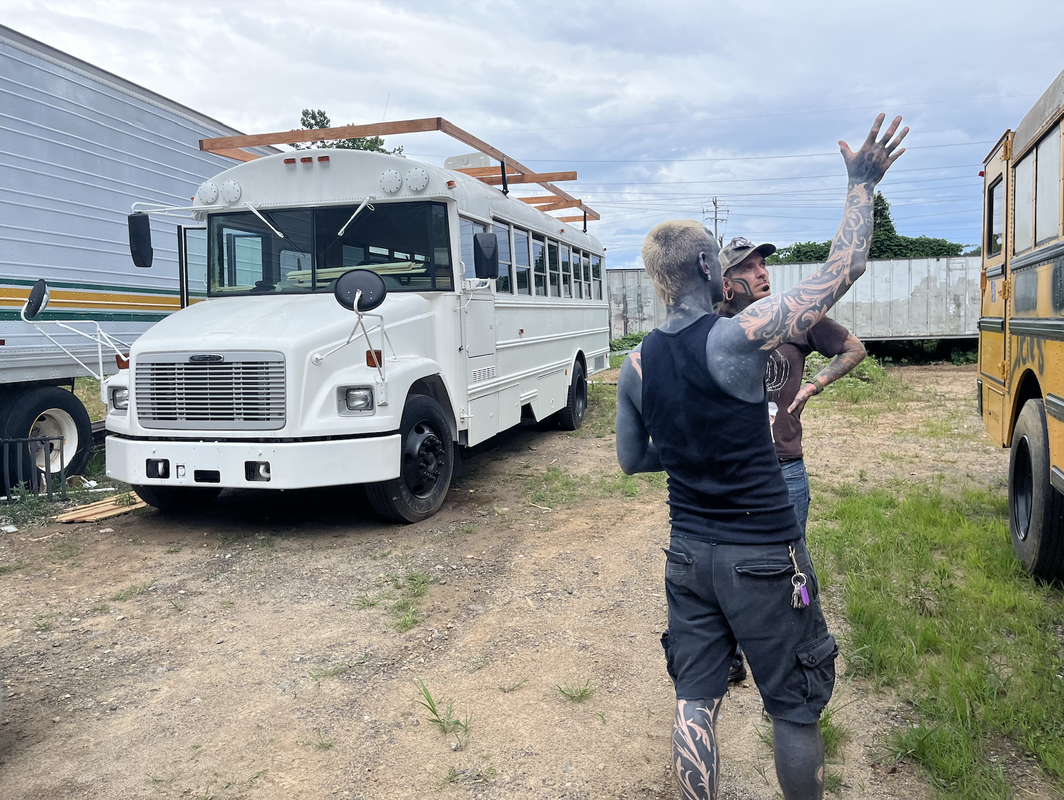
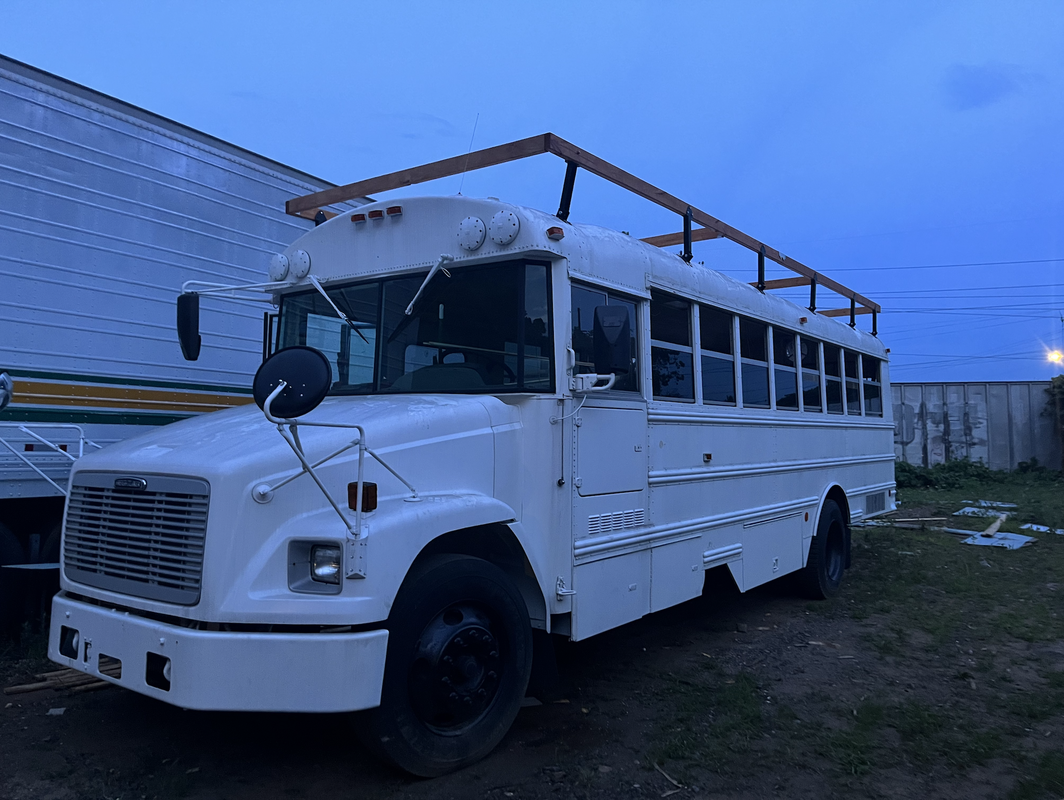
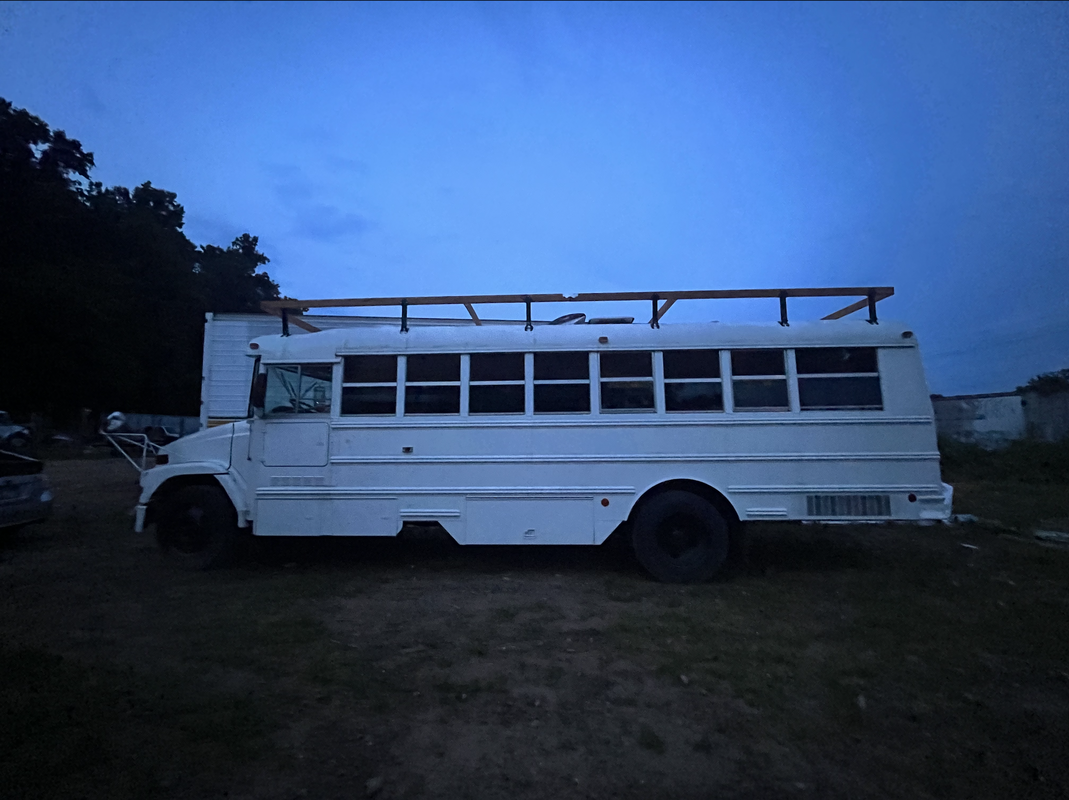
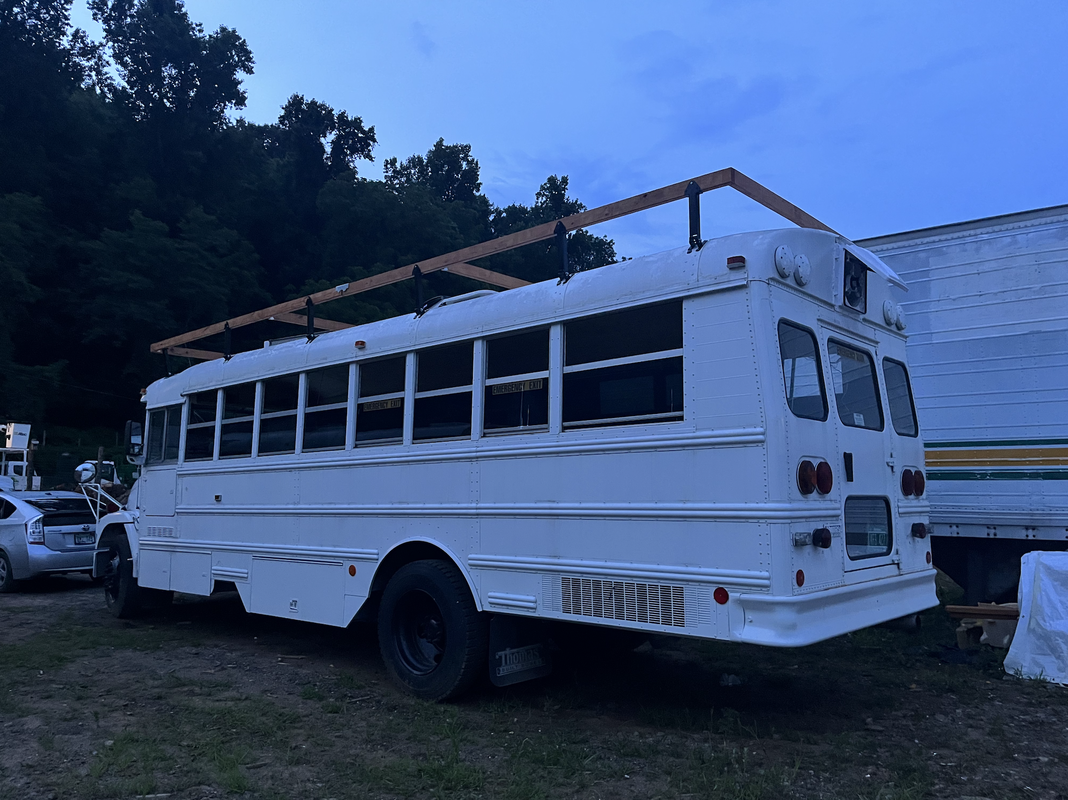
I decided to add a full length deck partly because I wanted some larger solar panels and a deck would allow me to fit all four up front along with room to comfortably and safely access them all. And I cannot wait to spend time up here!
Today was rainy and HUMID! I am hoping for cooler, dryer weather to finish the rest tomorrow! 
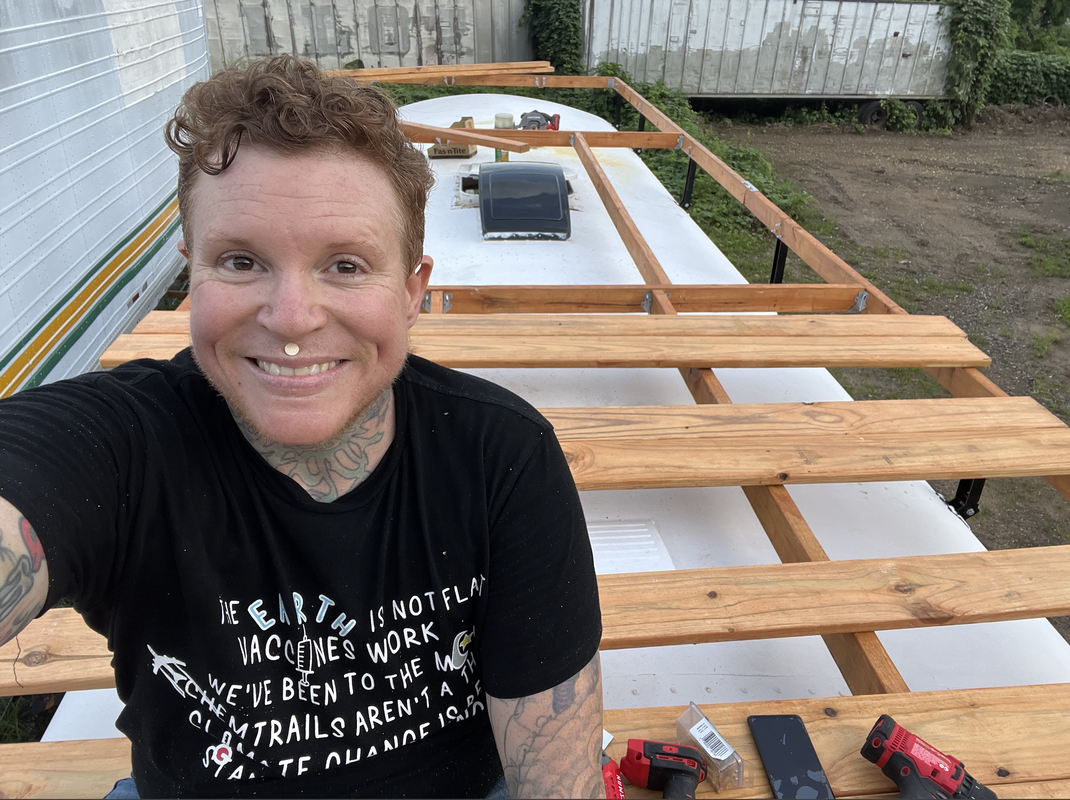
The last couple of days have been some awesome benchmarks. It is beginning to feel cozy. As I am wrapping up what I can before my final trip to Detroit, I am anxious about completing plumbing and the propane hook up for my stove. But I can budgeted a couple days after returning to Asheville to wrap up unfinished stuff before taking off. 
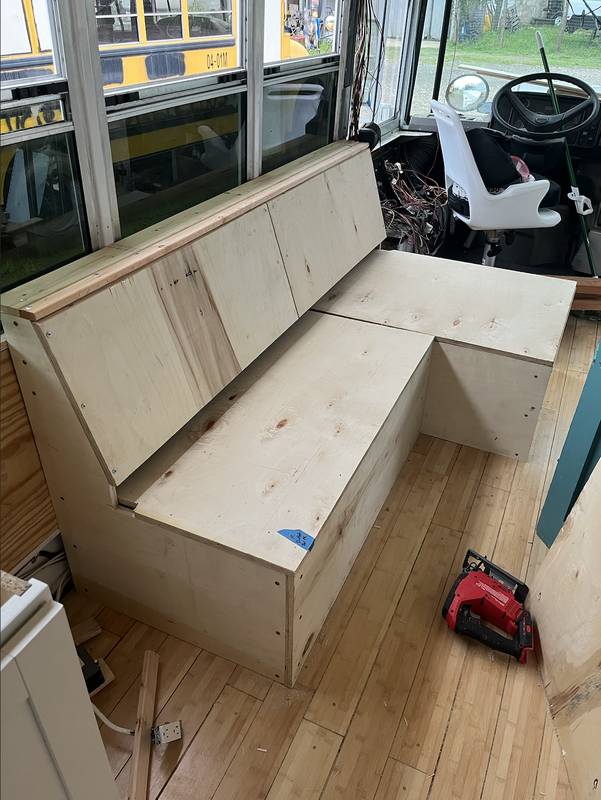
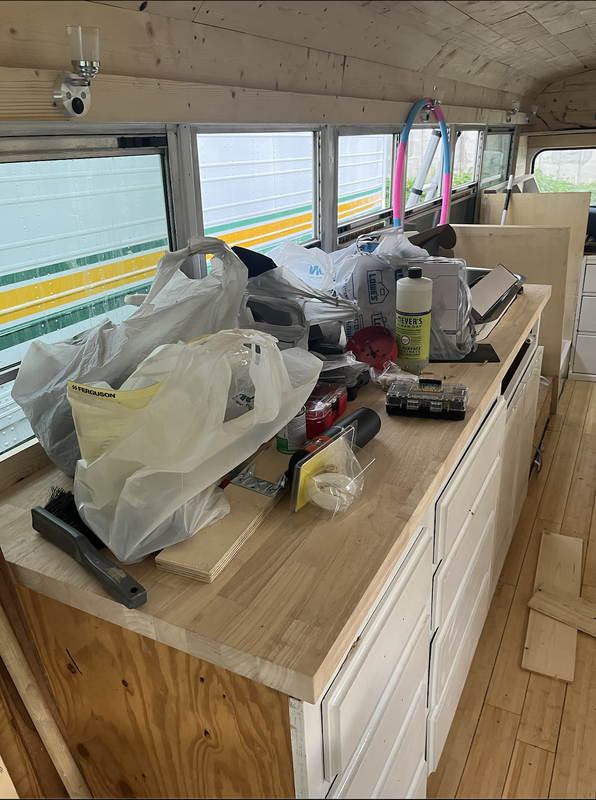
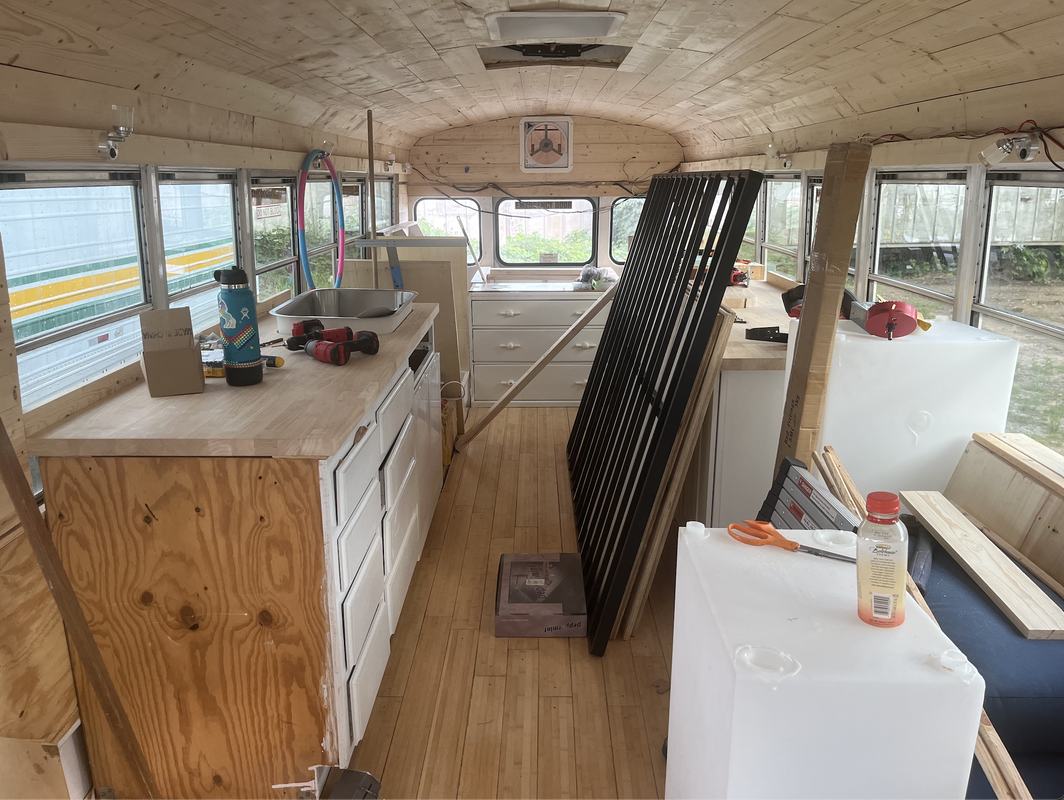
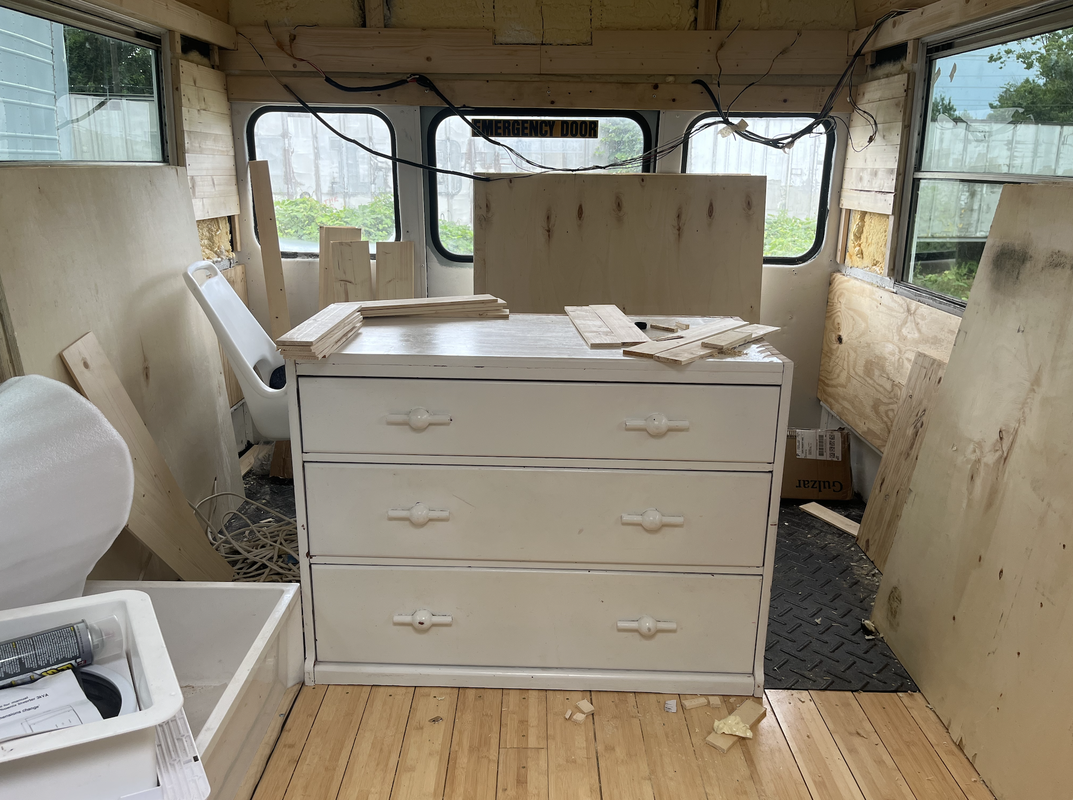
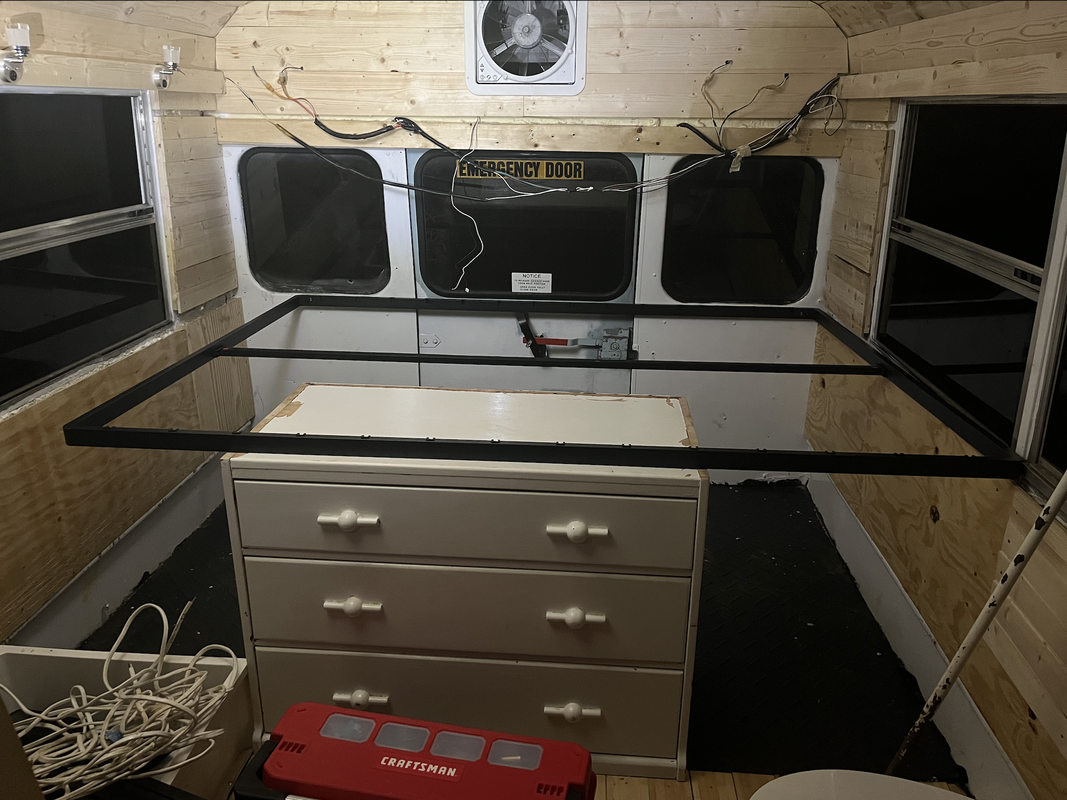
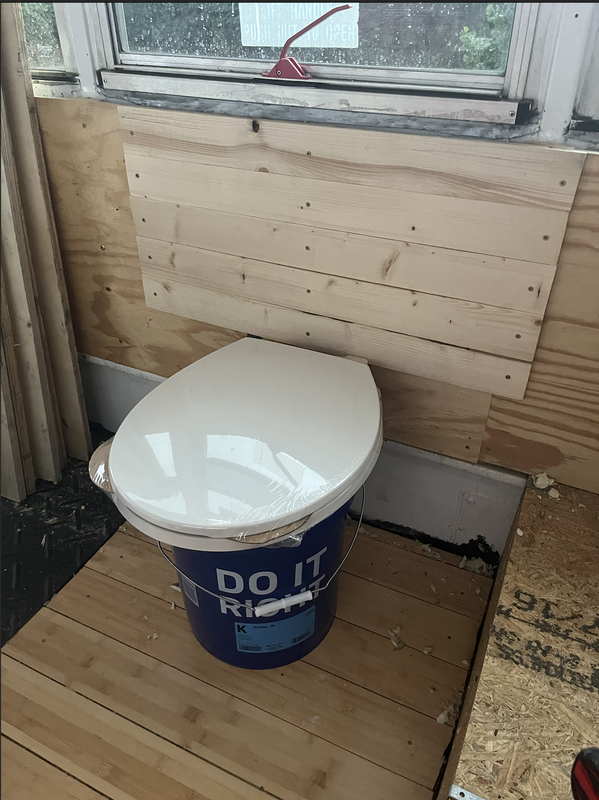
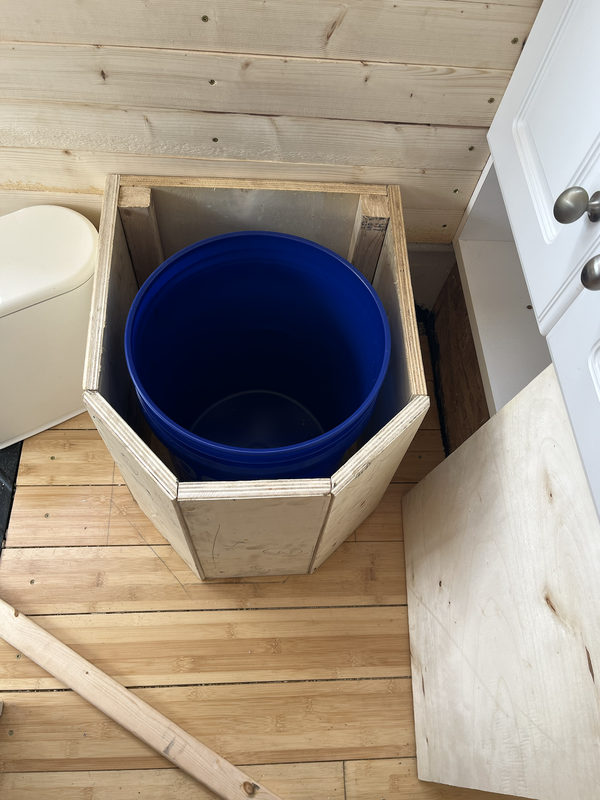
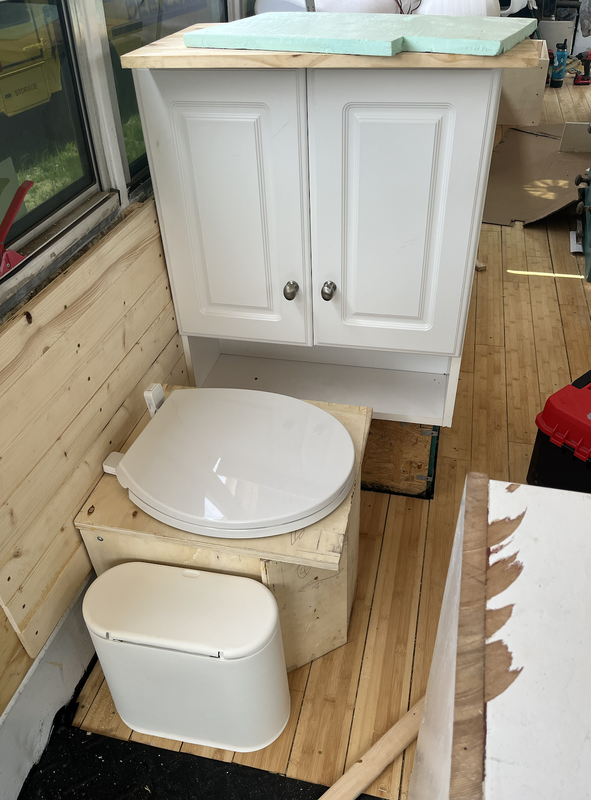
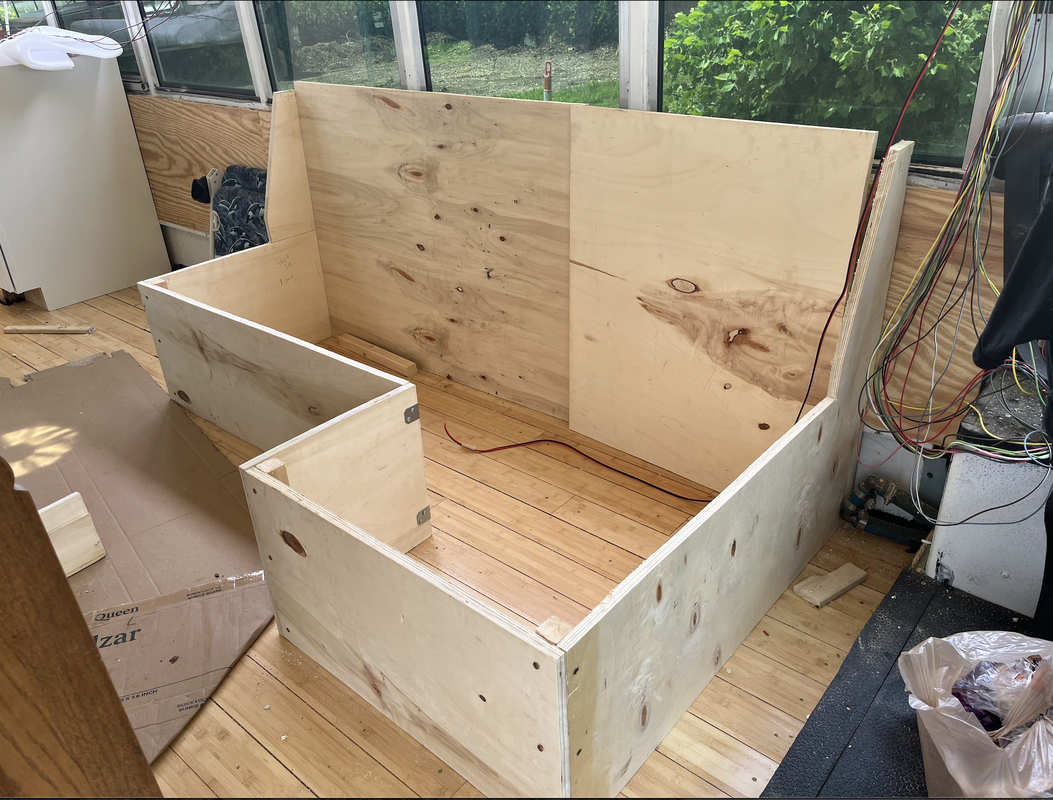
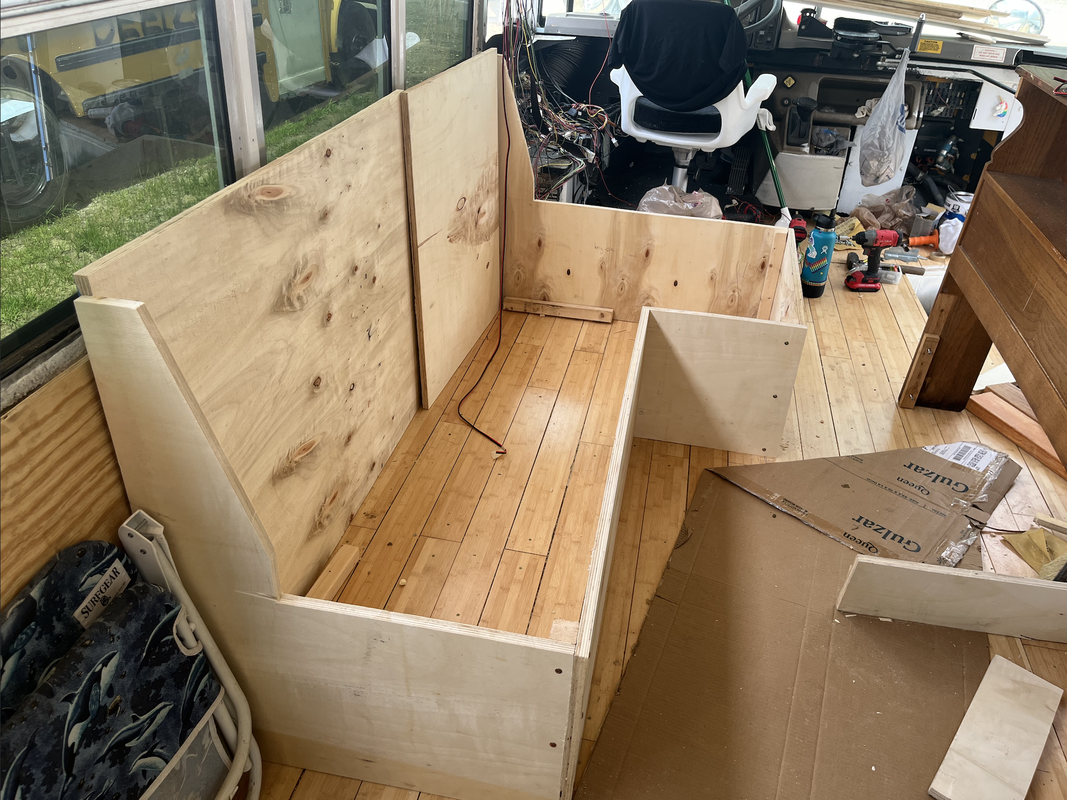
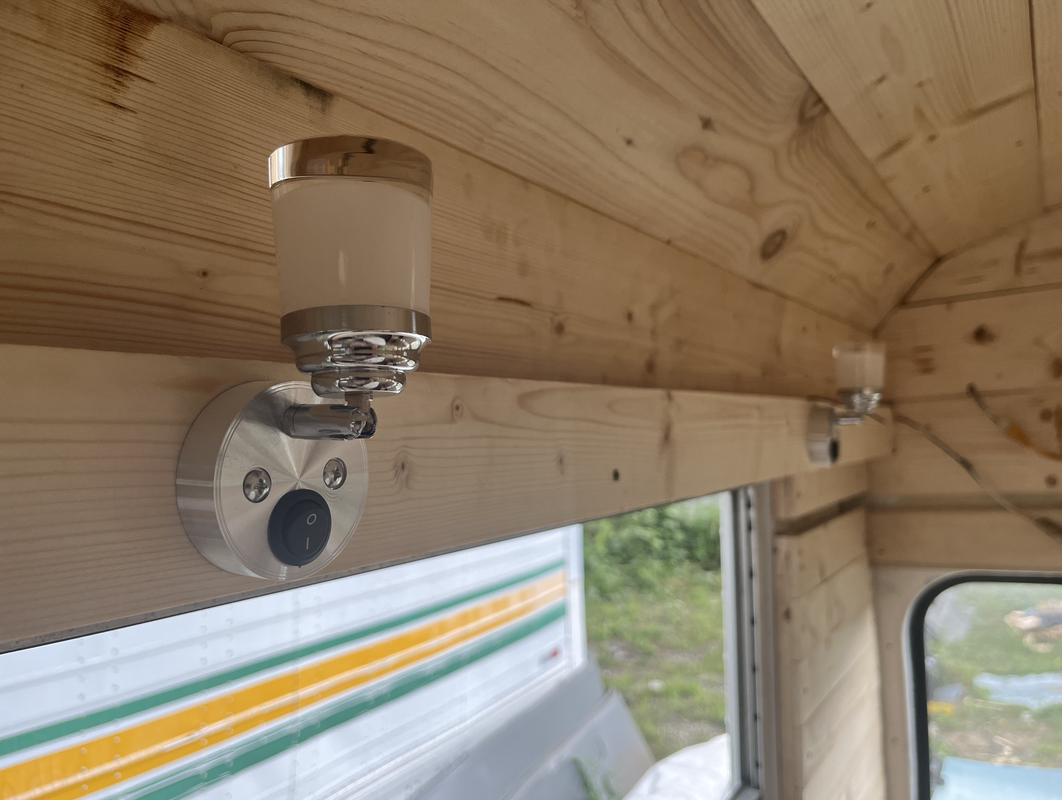
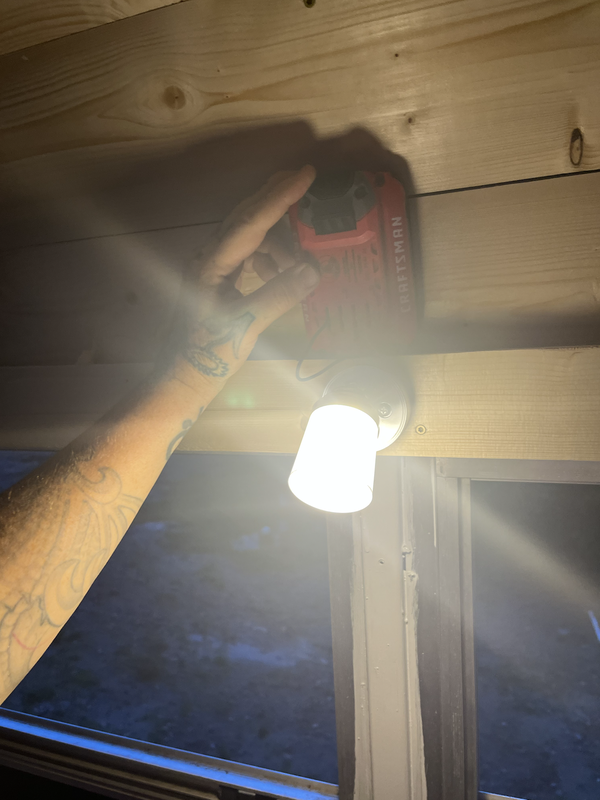
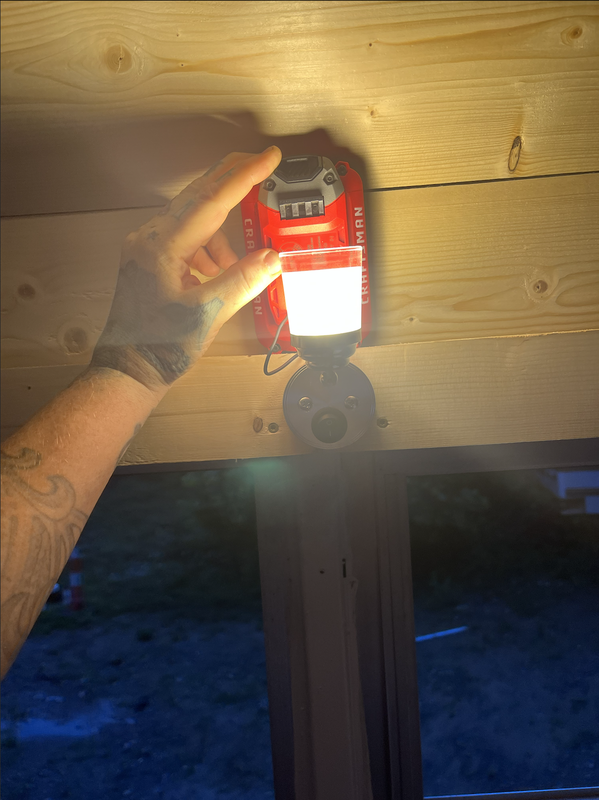
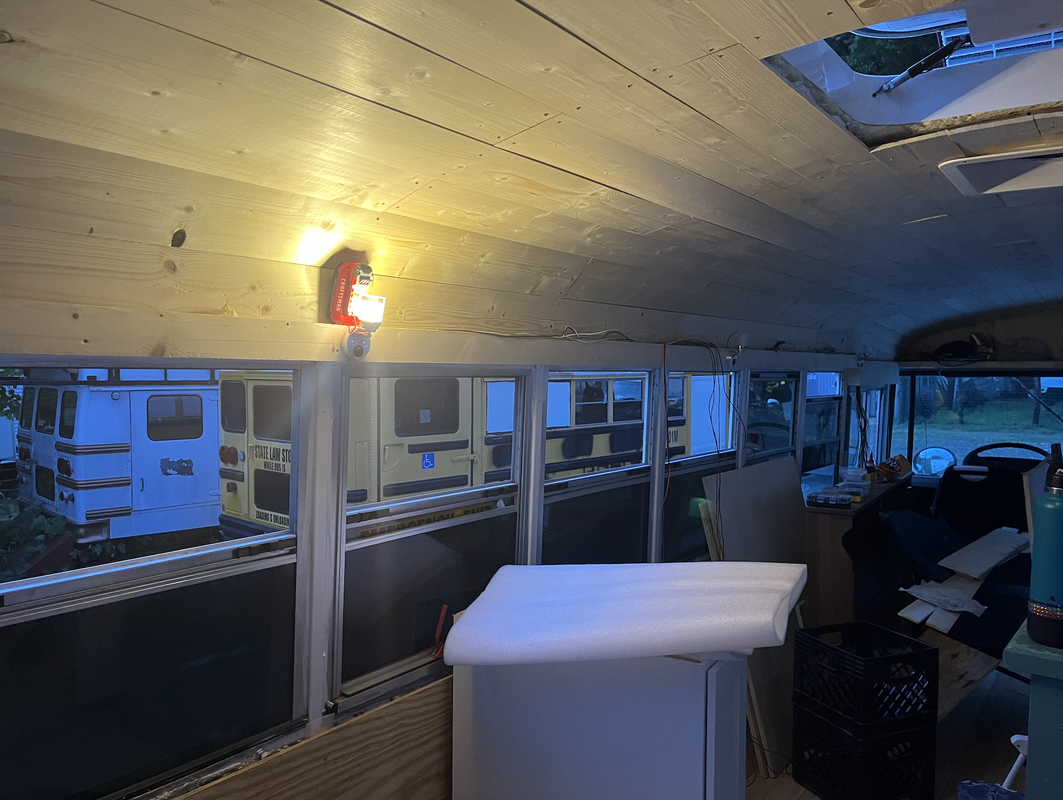
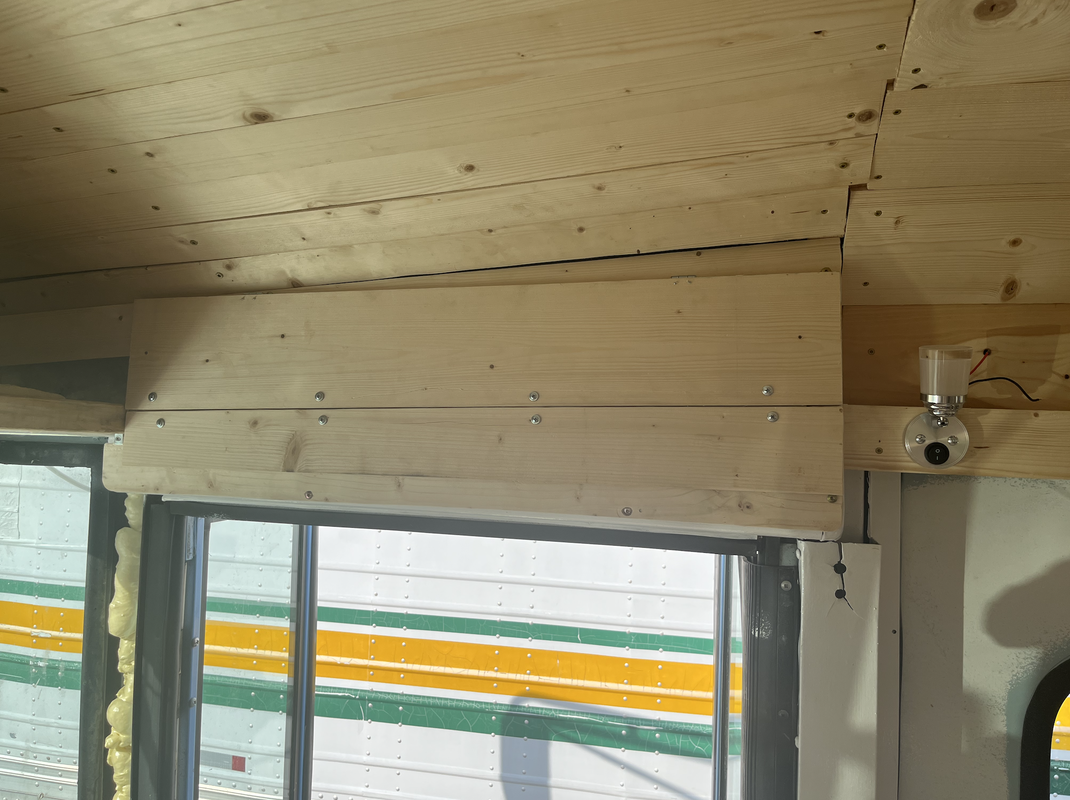
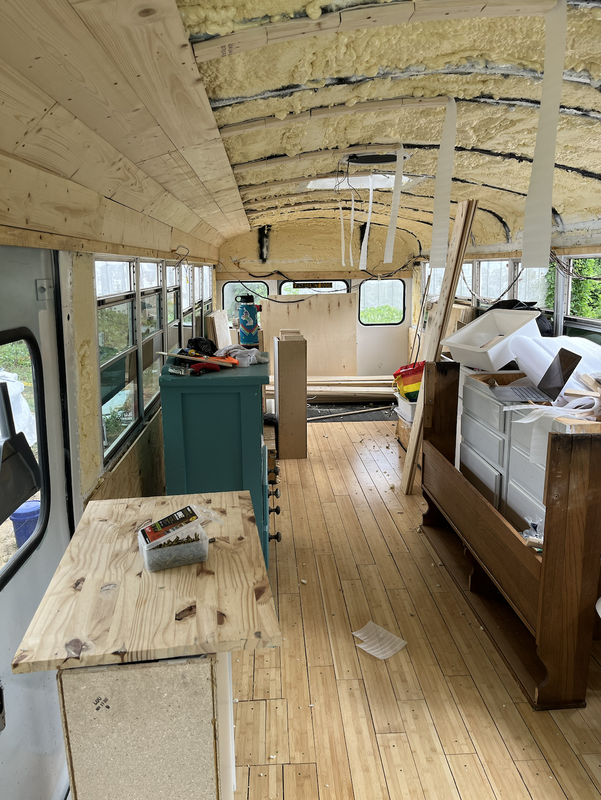
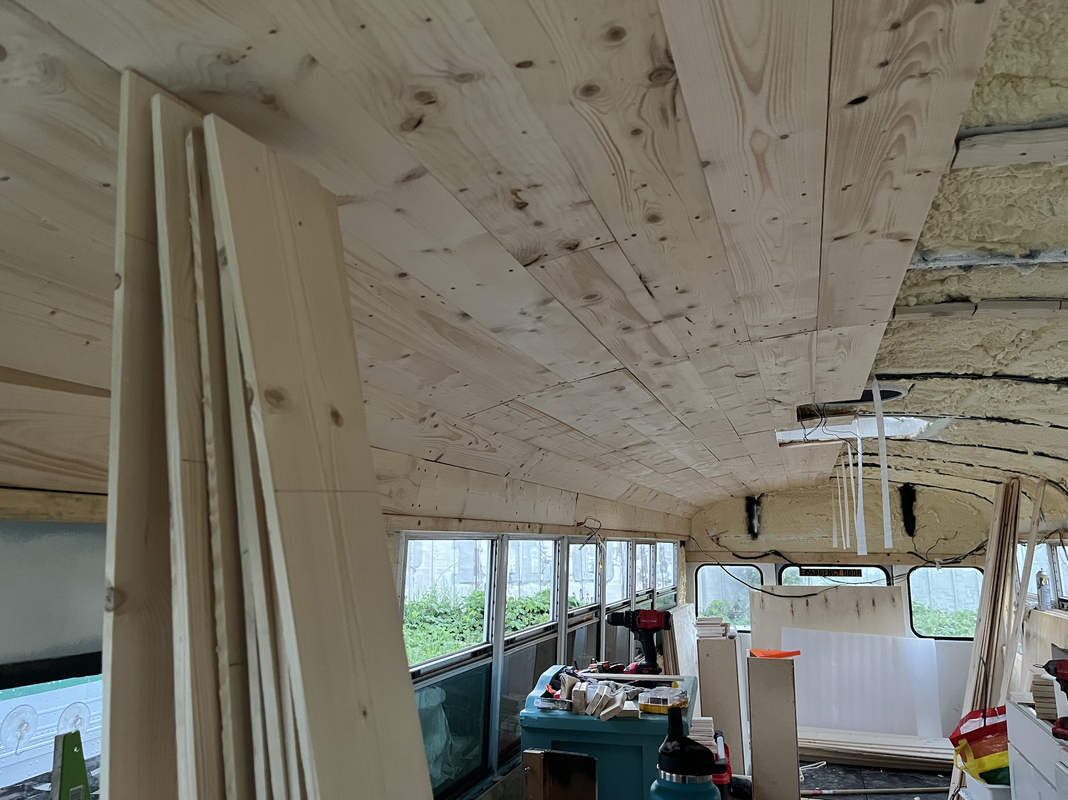
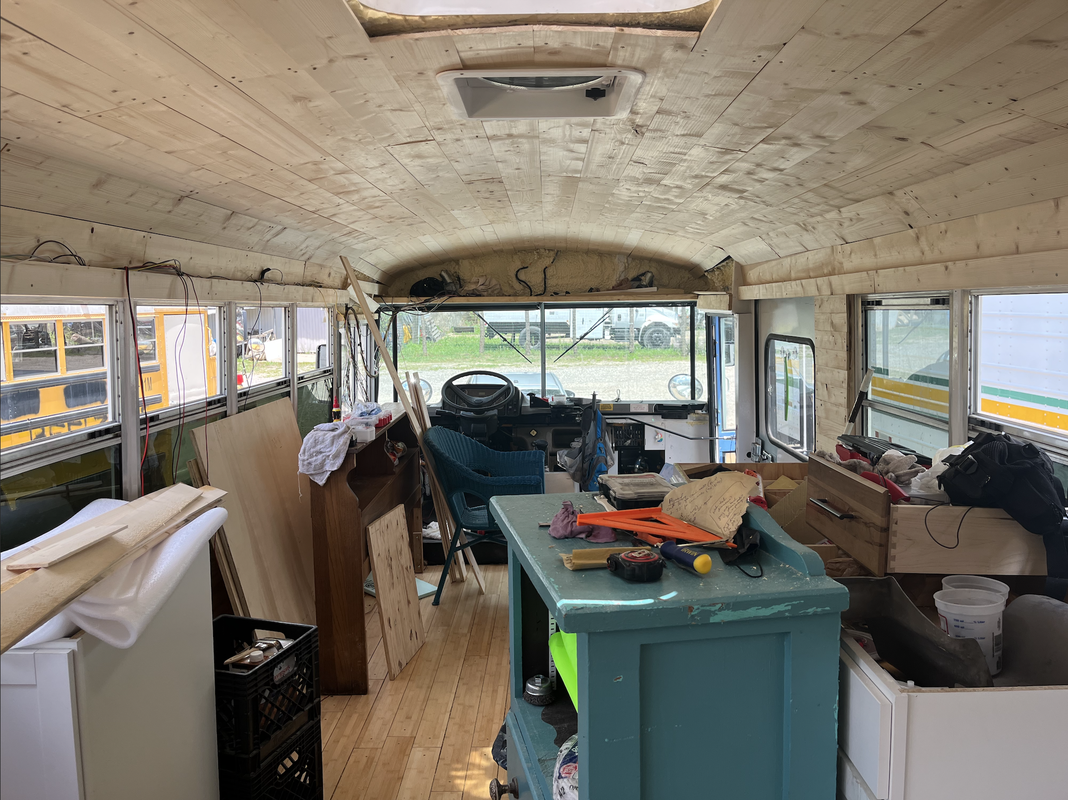
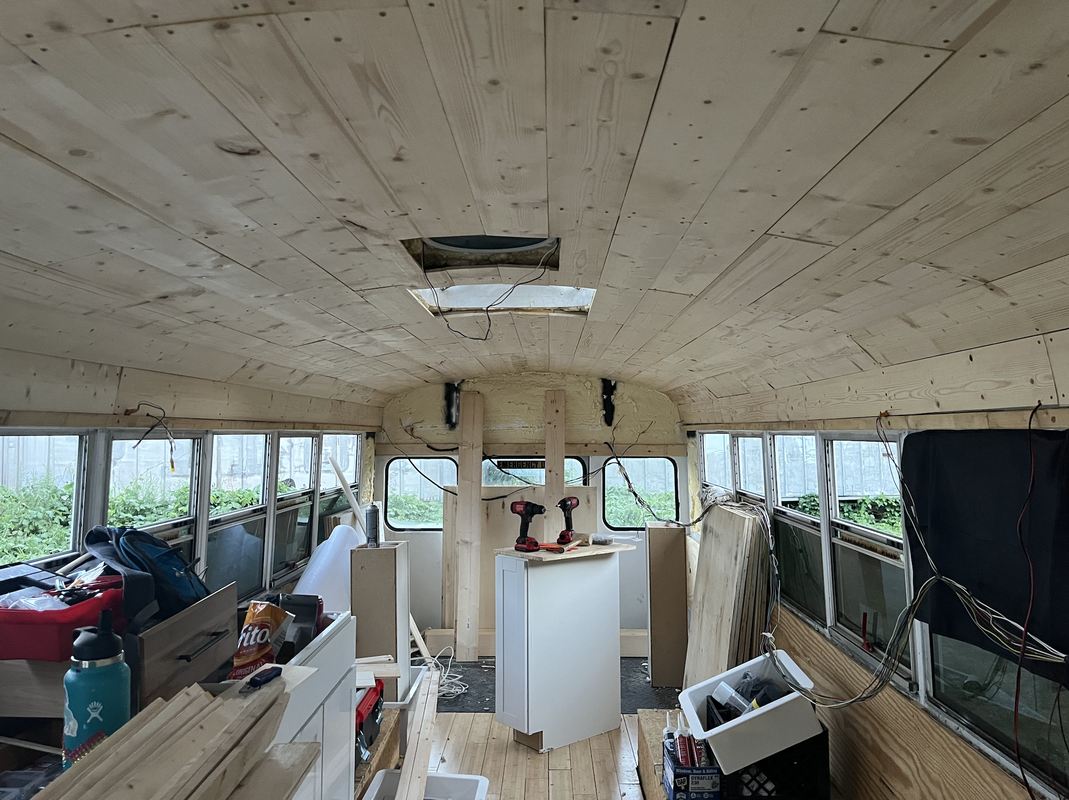
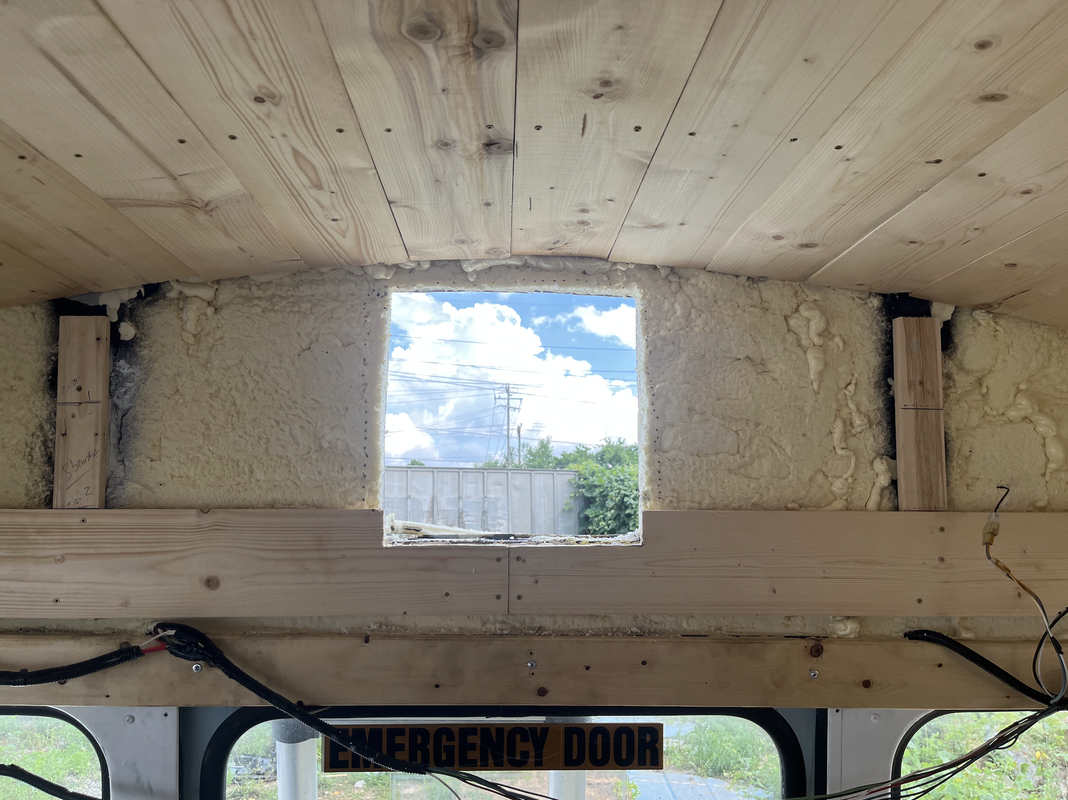
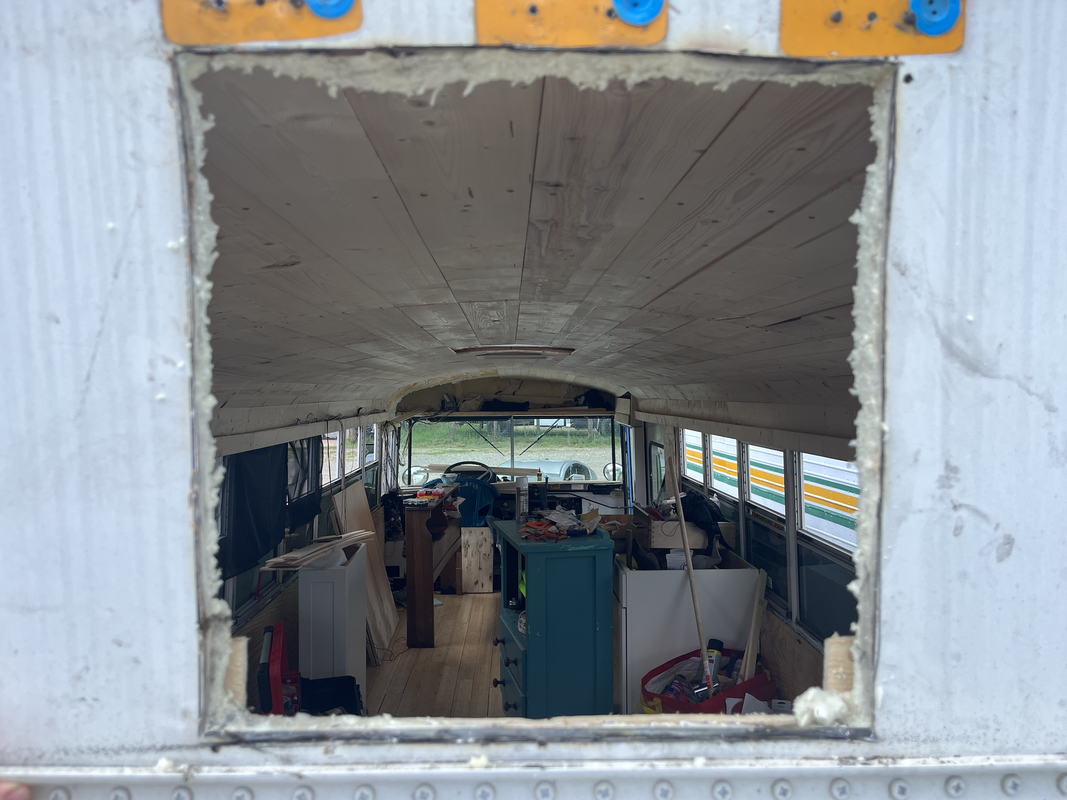
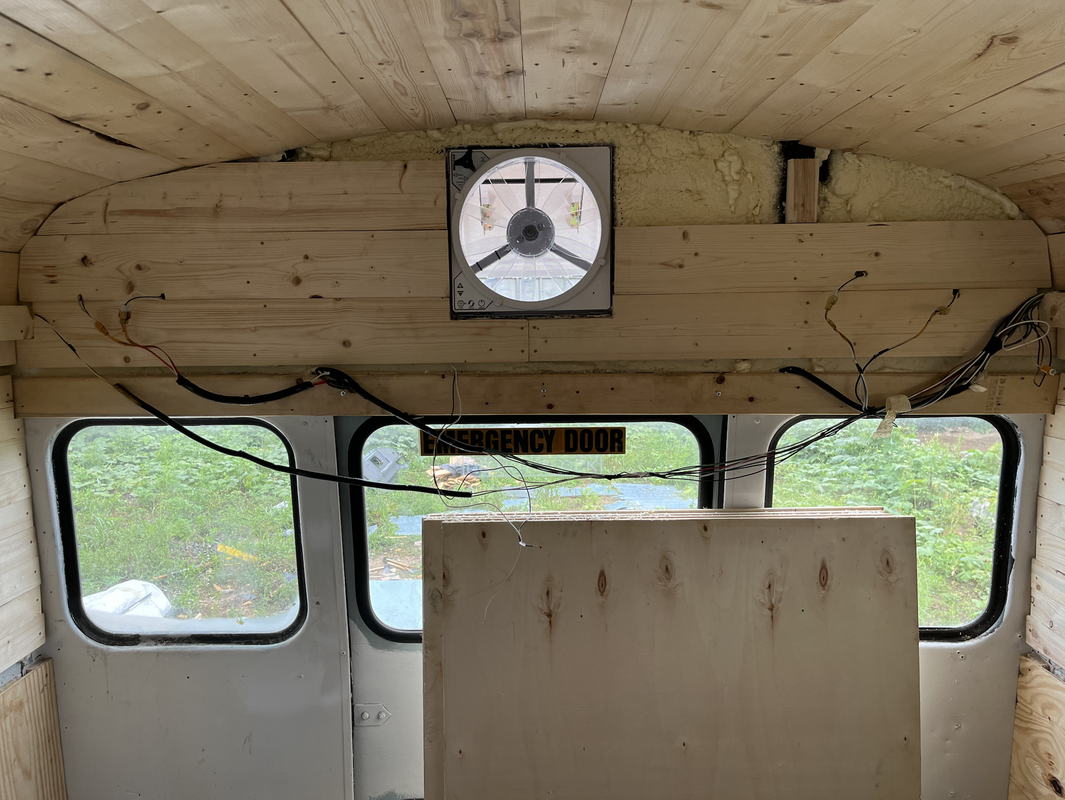
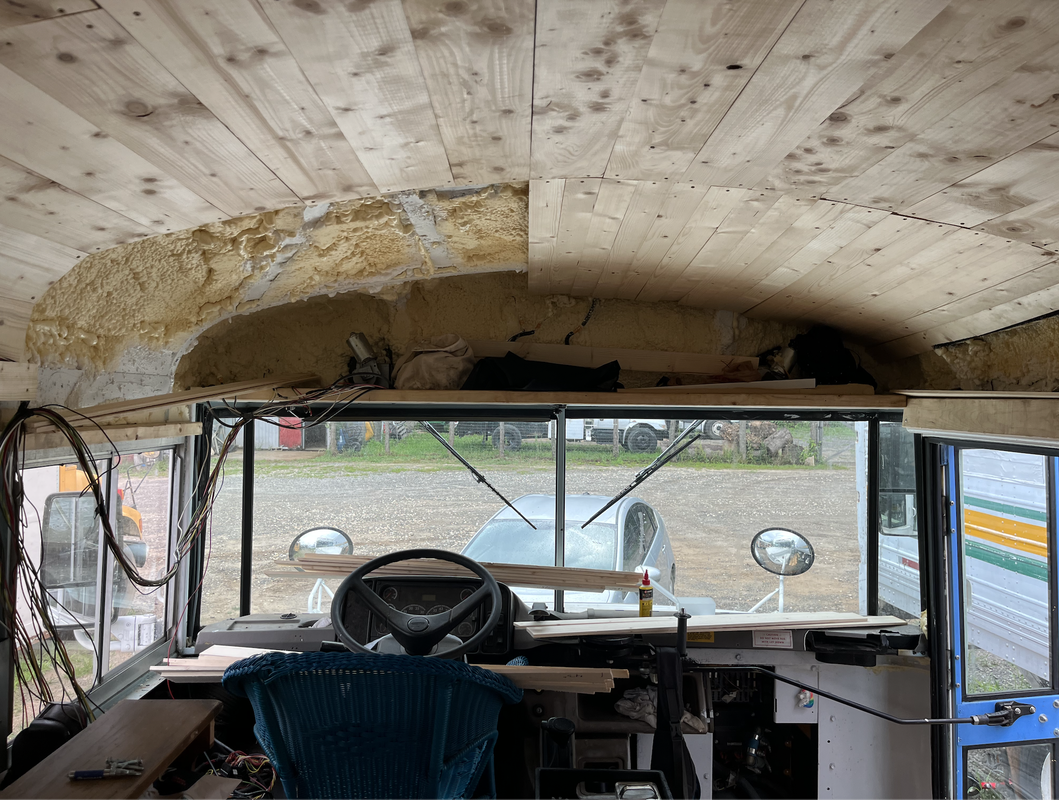
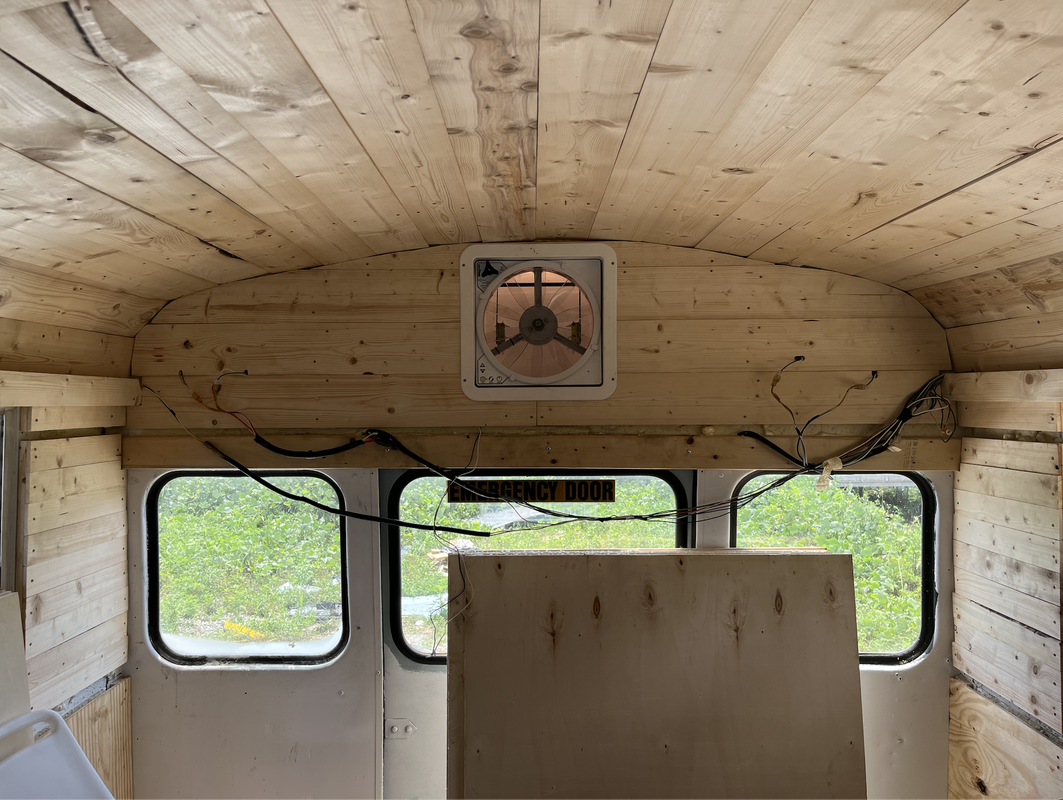
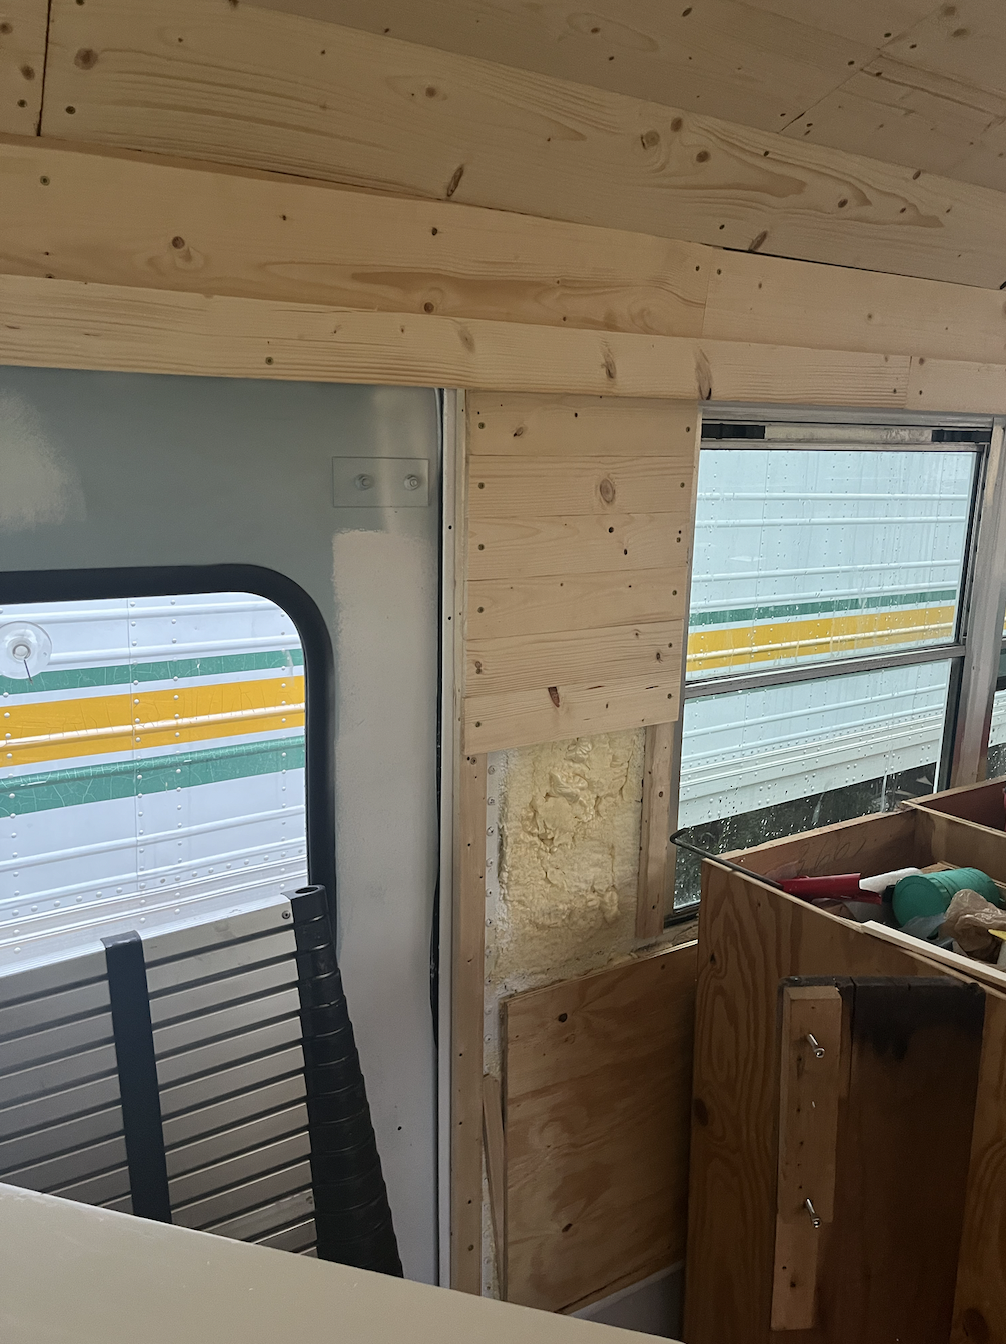
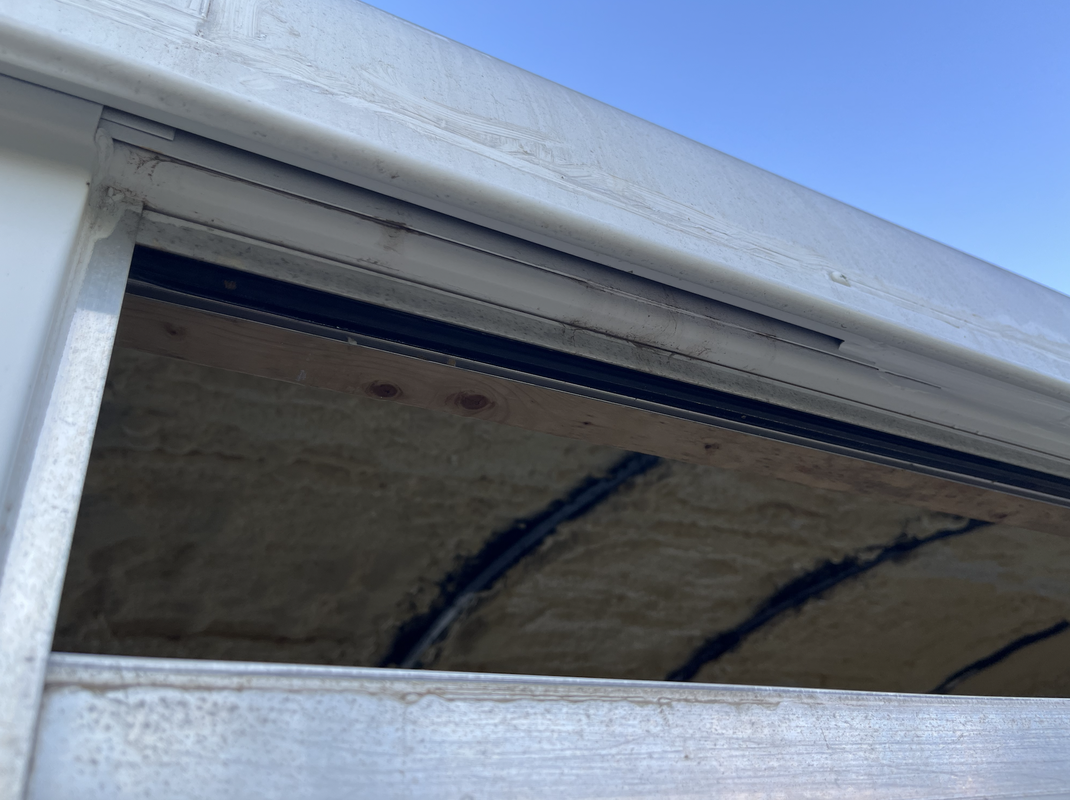
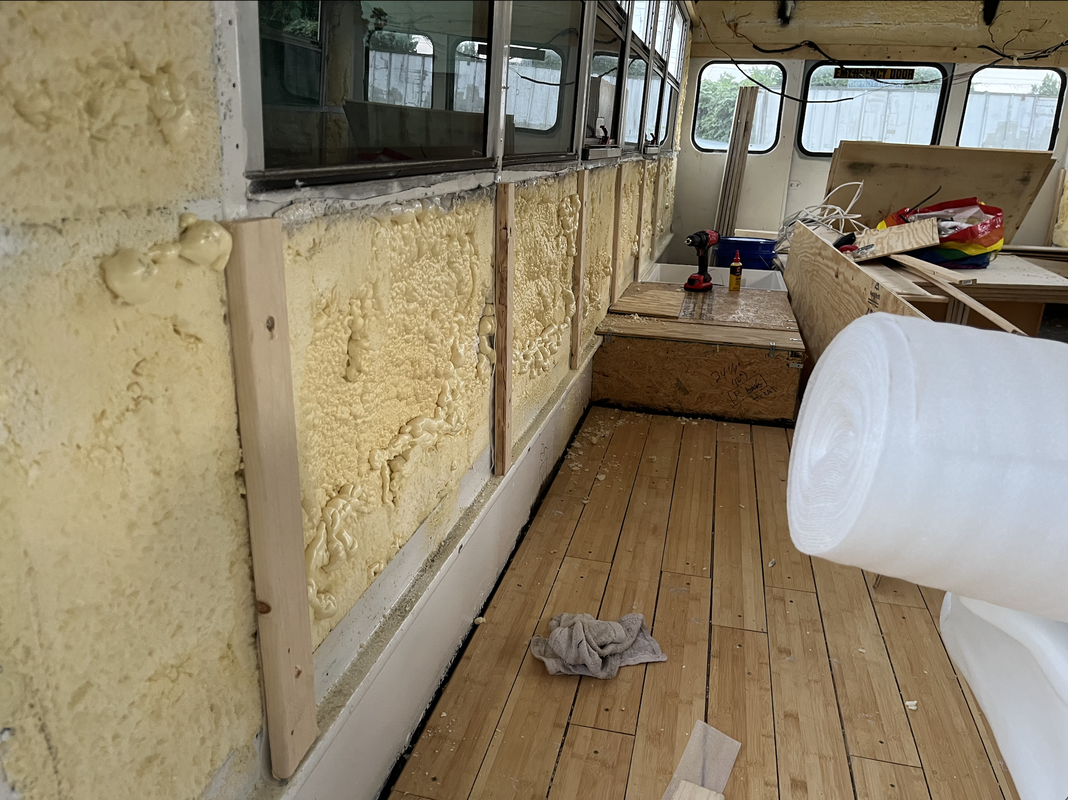
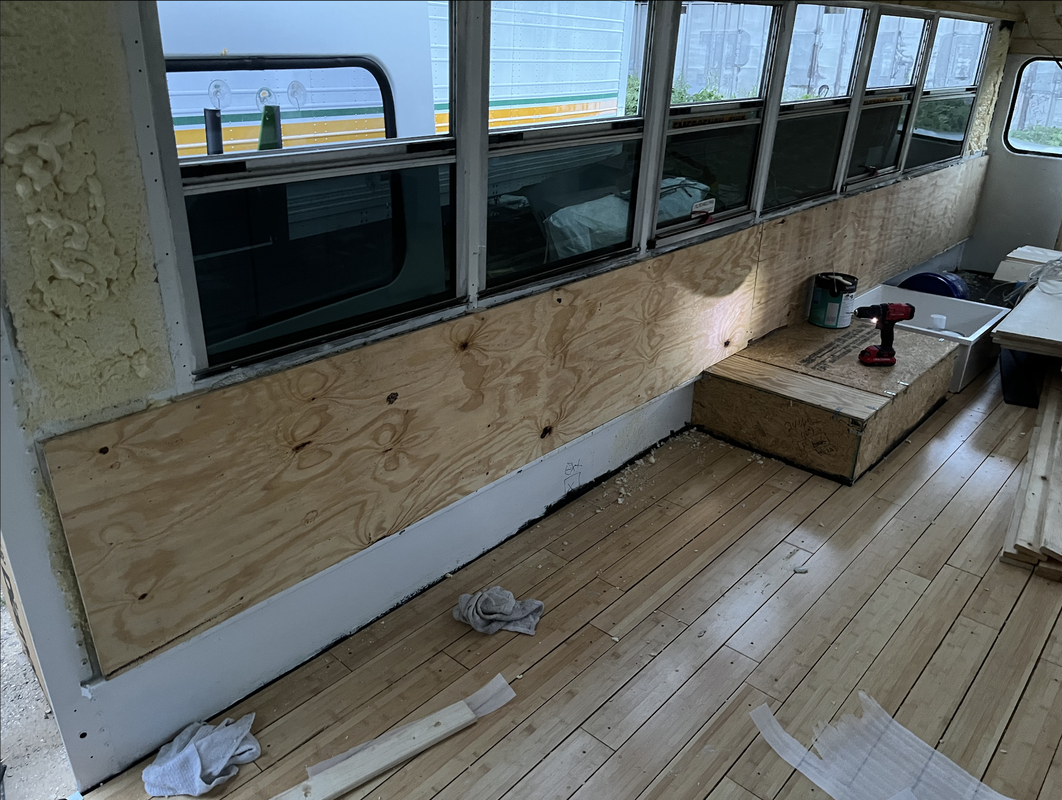
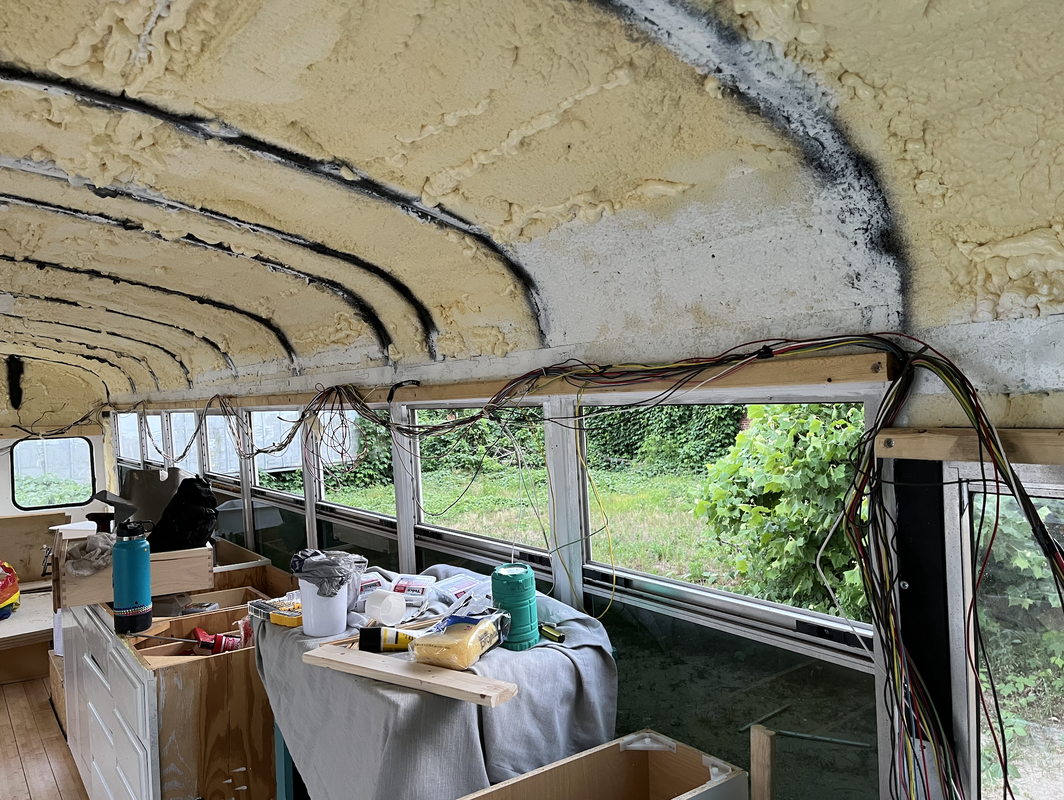
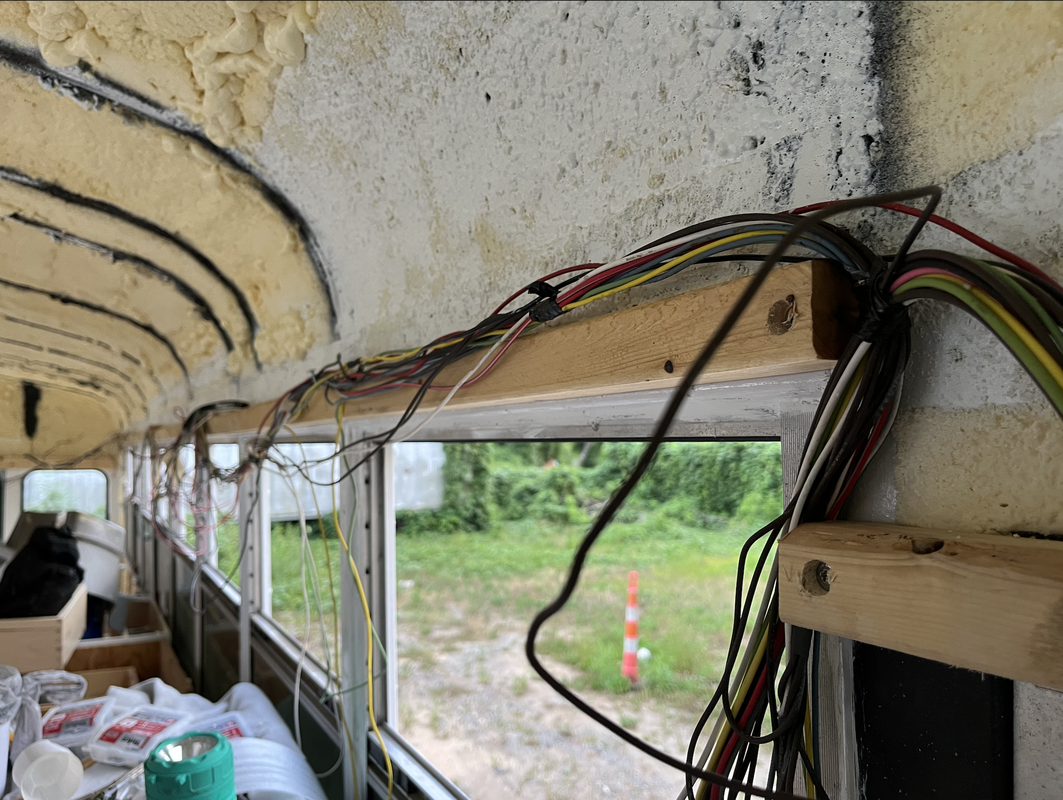
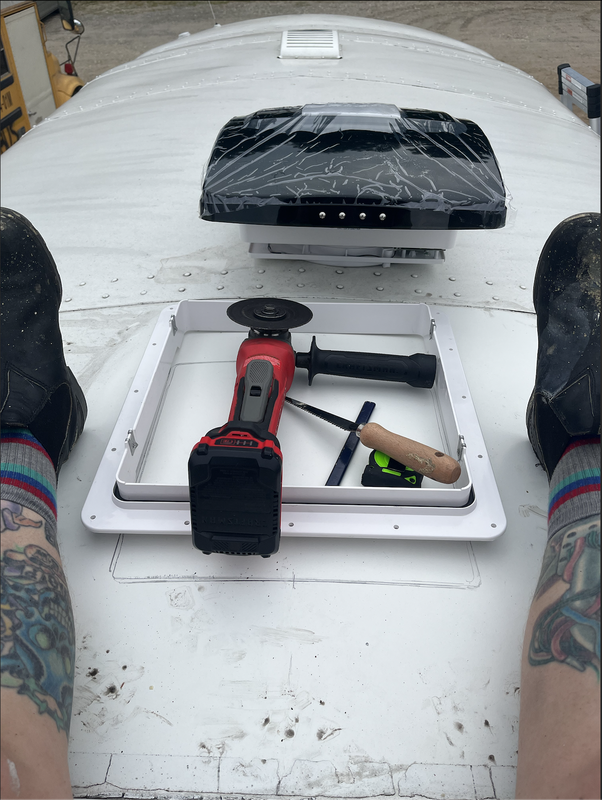
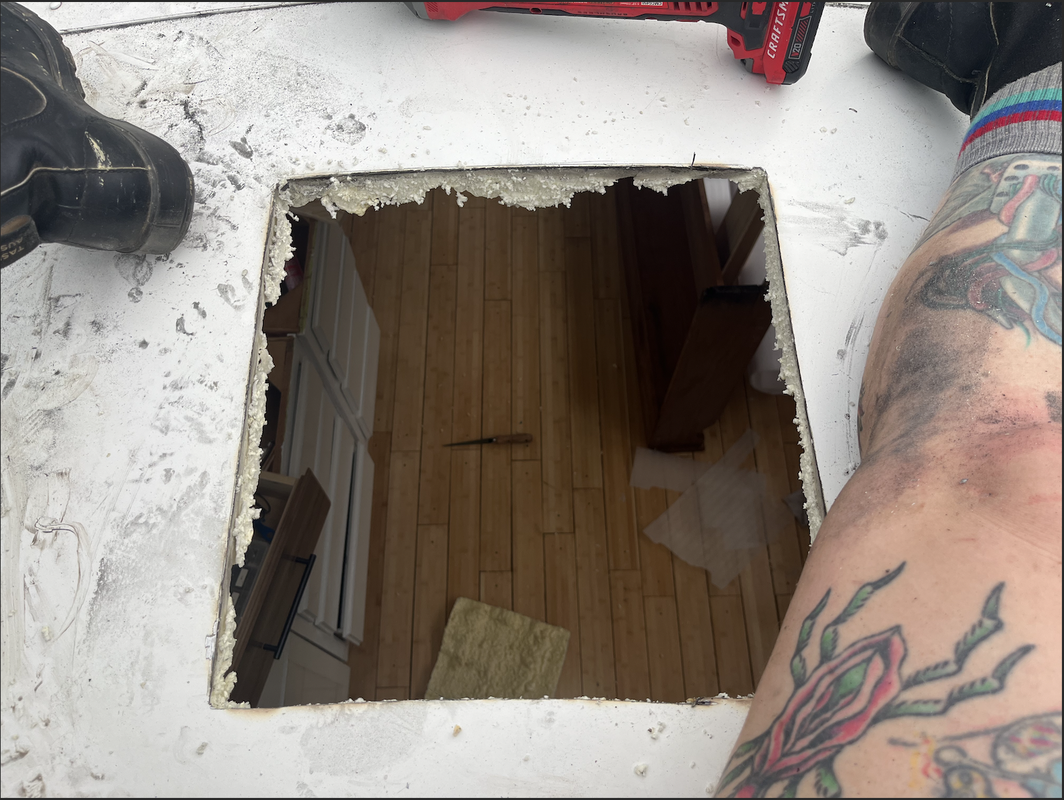
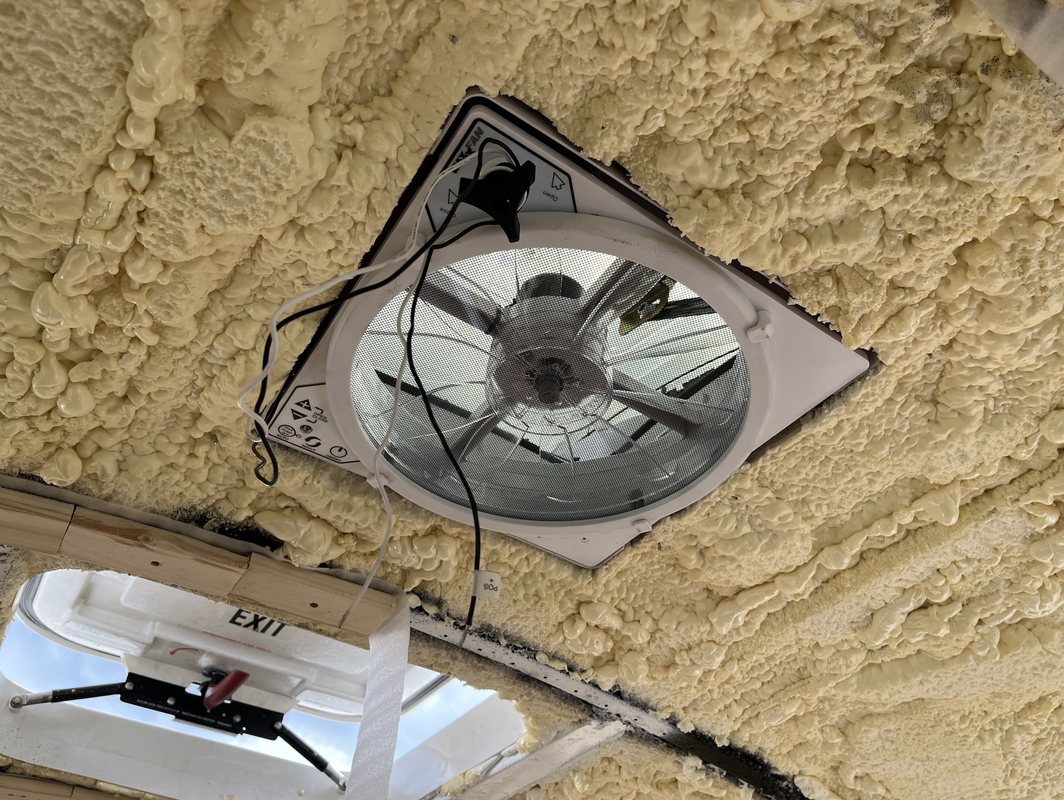
The bedroom area is done! Including hydraulic lifts for the bed frame, an outlet in the headboard, and shelving above the bed. In addition to the nice sized dresser, there is still plenty of room under the bed area for storage. My fresh water tank and diesel heater will be under there as well. And the bedroom privacy walls/shower and bathroom walls are secured. 
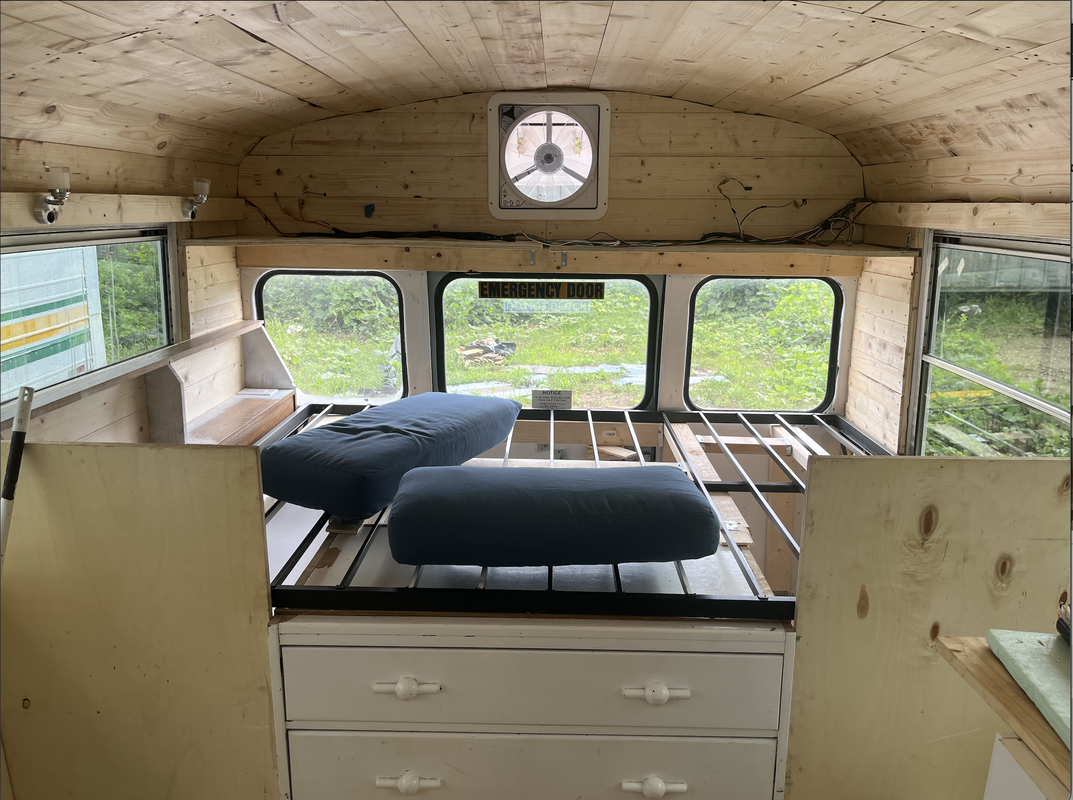
Though it is still pretty cluttered, it is less chaotic since we installed the countertops! (Thanks Brendan!) I followed Alan's suggestion to get butcher block counter tops and just keep them natural (simply just oil). The appliances have started to come in! So far just the fridge....next the oven. Also based on Alan's suggestion, I went with a larger sink (27"x18"x8" deep under the counter) so that I could use it for additional storage. I will post photos once I get the faucet and sink mounted (my first attempt at installing an under-the-counter sink).
Since it has been extremely hot and humid this week. And with all the rain, i have been working on how I want the living spaces to look. I found a dresser that will fit perfectly in the space between the shower and toilet while also providing solid support for my bed area. The composting toilet is coming along... I could not rationalize spending $1000 on a fancy composting toilet. So going the old fashioned route. I might change my mind later, but this will do for now. I forgot to snap a photo after the top was cut to match the angles of the walls. but it is looking pretty cool. If only I had remembered to either not write on the wood or cut it so that the side with writing was on the inside! It's okay though as I will be painting it with a white enamel. Last, I have been putting the constructing the couch area. Not attaching it to the wall until after I run all my 12 volt and Romex wiring as it will be housing all the solar components, including the fuse and breaker boxes. but I can't wait to be lounging on this couch looking out my big old side door!
I was thrilled to add my lights as a motivator to work on wiring! These are LED lights within acrylic and they are very bright. You can see how bright one is from a battery test. I think my collective eight will keep it pretty bright inside at night,
One of the first things I did was remove the panel above the door. And ever since, I have wanted to create a little storage area there again in wood. Today, I did it! I still need a good way to attach it. But I like it :) It is fun little touches like this that I enjoy so much about bus builds.
I decided to add a full-length deck so that I could attach my solar panels to them as well as have an area to hang out. It also acts as a such block for the roof, which I anticipate will help cool the inside. For anyone looking to build their own deck on a curved surface, I used Skoolie.com's deck braces, which are very well designed. For protection, I painted them with a rustoleum primer and then regular rustoleum black paint). Huge gratitude to Alan and Lucie for helping me hoist the whole thing up there and get the first four supports balanced. I have since completed the rest of the 12 braces and it is extremely sturdy once everything is tightened down.
It took several days to complete, but I absolutely love how it turned out. I originally wanted to use shiplap but found some really inexpensive 6'x5.5" wood that was listed as "art wood" that worked beautifully. In order to circulate air well while still planning for a deck, I added a fan to the back wall (thanks for the suggestion, Alan!). Also, a big deal cutting another huge hole in my bus, especially since it has been raining a lot here in NC. Unlike the rooftop cut, this was a bit more complicated. there were support beans, a curve in and out at the top of the bus, and a rain bar. But I was very pleased with how it all fit. I even reused the rain bar above the far. Since I have a little bit of a roof raise (I believe it was because my bus had a wheelchair lift), the front panels angle down and inward. So I cut the wood in half to accommodate the slope. After the fan was installed I completed the tedious labor of love fitting the curve of the back wall around it. I like how they turned out. i even had enough of the wood leftover to cover a couple of side walls! (I forgot to take photos of the two in the far back)
On a less impactful but important note, I caulked above the windows to help keep water out. Several areas had considerable gaps in the rain bar (both where you can see in the photo and at the top of the seam), which allows water t drip right into the window and splash inside. In two spots, it pours right in! So this was a high priority since it rains a lot in Oregon (and NC).
Short post of mostly photos... Walls are up I also screwed some 2x2 furring strips into the ribs that will support my other trim and possibly upper storage later. The planned trim will hide my wiring and hold my lights. One of the scariest things so far was cutting a 14"x14" hole in my ceiling. It sure is nice to have my fan installed though!
I am fortunate to have an amazing person here who is a former diesel mechanic who has patiently given me a crash course in diesel engine care and eased my anxiety. They spotted the source of my oil leak to a new rocker housing that didn't sealed well when replaced. So I my bus to a referred mechanic to fix the leak and get it all ready for driving from NC to OR! During the few days away from the bus, I plan to work on putting together my solar system! I have everything at the house including the panels. I am glad I planned far enough in advance that I have all the essentials to avoid delays due to supply chain issues. Working on my bus continues to be more and more exciting as I finish and task and see it coming together, all while spending quality time with my chosen family before I relocate to a dream job in a region that I love. This is a summer I will never forget. UPDATE: Turns out the piece was poorly installed and cracked. So it needed replaced. I was VERY lucky to have people who know people, who are awesome. So It was all fixed in two days. And I got right back to my 11-13 hour days working on getting it livable asap! I finally finished the floors and I LOVE it! I placed 6 millimeter underlayment and bamboo flooring over the liquid rubber layer. In this process, I have learned that I am not very good at flooring -- at least, not with used flooring with nails. I started on the corner by the lift. This was a mistake because 1) the place I start is never as good as after some practice and 2) it was not flush so it created some weird angles that skewed the rest of the floor. With the spaces it looks more like a deck than flooring, which I am actually cool with. Plus, I screwed in each plank so they should be solid in place (again, extra). I will probably research something to fill the gaps and provide more water sealant to the floors. All that to say, I love how bright the floors look and it is all nice and smooth. So happy I found the used bamboo on Marketplace! It took me the equivalent of 2 full days spread over a few shorter days. I completed it during 90+ degree days. It definitely feels more home-like and I am now able to start moving in the base cabinets I have collected (again, Marketplace). The flooring was a bit step to seeing it come together and be my home. <3 I had an epic scavenger hunt on Marketplace one restless night. I previously mentioned finding the bamboo flooring from Marketplace. I have also found:
The base cabinets I found were a lime green that I painted white. I like using rustoleum because it is an enamel and gives it a great smooth water and chip resistant surface. I love upcycling something used and saving money!
I cleaned up and finished the rubber around my driver's seat. Since I like that so much, I also picked up some 4'x8' rubber mats from Tractor Supply Co. that are 3/4" to match the thickness of the bamboo flooring. I put this under my bed area becuase it will just be for storage. and the texture will help to keep the rubber bins in place. The amount of bamboo I had would have probably covered it but it would have been close and I would have had to use pieces that were less than ideal. So this felt like a good solution. After much debating, I went ahead with a new seat that swivels and provides way more space in the driver's area. The previous air ride driver's seat was comfortable but huge and not aesthetically pleasing. The nice thing about the post seat is that I can switch out to another chair if I find this one isn't a good fit. But so far I like it.
And so this is how it looks currently:
After the mess of applying all the spray foam, I spend two days smoothing it over and filling gaps. Continuing my over the top approach, I added a coat of Flex Seal Liquid rubber paint to the plywood subfloor. Once it has cured, I can start laying the bamboo flooring! My dear friend, Richard, came with me when I returned to NC . He was a tremendous help with insulating the bus - it was messy and hot!
I handled several smaller updates this last week before moving on to insulation and adding those lovely bamboo floors. 1. Coolant lines I obtained the right brass bends to properly reroute the coolant lines after removing the back and front heaters. 2. Air line I had previously removed the air ride seat because it was bulky and I wanted something smaller and that could swivel. This meant that a pressurized air line was cut and flung around when the bus was turned on. As a solution, I found a pressure fitting for the tubing in plumbing that I then adapted to a larger ball valve for a pneumatic tools. For now I am keeping it closed and capped. But this stray air line turned into a possible source to air up bike tires and such. And I was able to conveniently tuck this inside the storage space below my bus that is empty after removing all the lift equipment. All I need to do is remove the cap and screw on whatever attachment I want. 3. Lock doors Security has been a concern of mine and how I want to lock my doors. It is not prefect yet, but my bus is now lockable. For the back and side doors, I took the simplest approach, drilling holes in the handles and connecting piece of metal then securing a lock through the holes. The main doors now have a BIG 'OL LOCK on them! When drilling the 3/8" holes for the carriage bolts, the two inner screws ran into some thinking supporting steel beams, which led to getting a diamond drill (I couldn't find a 3/8" metal hole saw). After getting through all that, I had a partially used spray foam canister that I decided to fill that section of the door with to keep moisture out and slightly dampen some sound. Since the two doors don't sit flush, I placed a piece of wood behind one side of the lock, which I will replace with some welded metal sheets in the near future. But in the meantime, it is very secure. 4. Miscellaneous stuff It rained a lot last week, which was an opportunity to identify leaks. I found some small drips here and there which were easy enough to treat with Flexseal puddy since it was wet. But there was one area that was just gushing a stream of rain in the corner in front of my main doors. Long story short, I spray foamed those leaks into oblivion! And it worked. :) I have been in the bus a couple more times while it rained and all seems well (fingers crossed). No photographed -- I also climbed underneath and completed the dirty task of removing the remaining tubes from the old AC units. I swear I had dirt and debris all over, including inside my ears! So glad that bit was done. The silver lining was becoming even more familiar with the underneath of my bus. 5. Got it running again! I had trouble getting my bus started again a few weeks ago and have since removed a LOT of wires. So I was anxious to double check I hadn't removed anything I shouldn't have. I was methodical about tracing wires before cutting...but I am not an electrician. Get the bus going again wasn't so straightforward. Finishing the coolant line reroute was part of it. Then I had to filter and add there coolant that came out of the lines (approx. 5 gallons!). I have also been dealing with some oil leaks. It took about 2 gallons to get to the middle of operating range. Last, I went a head and got two deep cycle marine batteries in case it was a battery issue. So after all these steps, I got her running again and she is doing great -- and no electrical issues! Yah!! So this is what she looks like at the end of this trip. When I return, I will have one of my closest friends, Richard, coming with to help with the upcoming projects:
While cruising FB marketplace, I found approx. 200 ft2 of bamboo flooring that someone had pulled out of their house. The price was reduced to $60 -- I was on it!
I debated whether to floor the entire space then build up furniture and counters or to add flooring after the other items. Since I have so much and for such a great deal, I might as well just cover the entire flooring and allow myself more options for the future. It helps that I am only 5'4" so the additional space does not impact my comfort moving around. Soon after I finish the subfloor, I will start on the flooring. Cutting off the nails will be tedious but still very happy with my find. They will just live in the back of the bus until then! This week I have been building the subfloor with 1x3 furring strips, foam insulation, and 3/8" plywood. Supply chain issues and increased cost of materials has been a challenge but I am managing to find a middle ground. The work has been slow but steady with some awkwardness maneuvering 4'x8' sheets alone but I have been enjoying the workout. That and it has been real hot and muggy here in Asheville. My bus has two cutouts for the diesel tank and access to the engine. I am going to keep both accessible, which means some additional planning and cutting. I am very happy with how they are turning out. I am wrapping up the subfloor tomorrow! I already have supplies for the next projects... :)
Today the bus bit a chunk out of me! I was moving 4'x8' sheets of plywood around the inside of the bus because it was raining. As I lifted one up, my hand grazed a railing in the ceiling (not a rounded rib). I am sharing because 1) be careful! and 2) I found my skin chunk! There it was stuck where it was scraped. Enjoy haha Fortunately, I finished the night with dinner with my chosen family. I brought some tasty dessert!
Of course, I expected some rust. The ceilings were absolutely rust-free, the walls looked great, and under the bus was in good shape with some surface rust. However, we found rust once the floor was exposed. In particular, the wheel wells had pretty significant rust and the back corners as well. Thanks to my friend, Lucie, we were able to treat, remove, and patch the rust! And just for good measure, I caulked the seams. Last, my favourite part was cleaning everything up, sealing holes, and painting white rust-o-leum! Now it feels like a blank slate to be filled.
For the next phase of demolition (removing AC units and removing bolts on the bottom of the bus) I knew I needed help. I had a few days to myself to work on a few things. Fortunately, Alan's friend Lucie was available for two days to help. Together, we knocked out so much this last trip:
Start: During: After: As of now, my build plans look something like this below. I have made some additional adjustments since this arrangement. But it is coming together. I am enjoying demolition and I am thrilled to begin building in the near future.
The far left is the front five feet for the driver's seat (dark red paper) and steps. The yellow paper is storage area, including a 2 foot deep garage at the end. There will be welded loops for a hammock chair and hammocks inside (for those who want to come join me!)
So I moved on to removing the walling that I could. I ran into more stripped out and immovable screws. I returned to the store to purchase screw extractor sets, which were helpful except when they broke off in the screws. By the end of the two days, I had a better idea of what I needed. So I returned to Detroit to research and adjust my plan. I have been doing all this alone besides a couple screws that had bolts underneath that Alan helped me with. I do need some assistance, especially during demolition of the floor tracks (also attached underneath) and the heavy ceiling AC units. All in all, I am glad to have things moving along. I return March 9-15, which will allow me a solid week to make a dent in demolition. I can't wait to finish demo and start building up my new home. This is certainly a practice in patience and incremental learning. Here are the before and after photos, which I will try to remember to complete each time to track my progress.
Over the last month, I hardcore researched buses -- how to inspect a bus, bus sizes, bus conversion ideas.... I cut out proportionately sized, colour-coded furniture and appliances that I moved around on different sized layouts (see image to the left). I scoured the internet for a bus that fit my needs -- and then, it happened. I knew I wanted:
Since I still live in Detroit, I recruited my friend Finn to take a road trip with me to go grab the bus before I took off for Asheville, where I will be working on it while staying with my chosen family out there (Alan, Maggie, and Rory). With everything removed and the yellow gone, it really felt like my little dream was really happening. Before taking off, the seller gave me a 100% dad walk-through of all the parts and test driving it. By the time I hit the road a couple hours later, I'd say 90% off my anxiety was gone and I was filled with excitement. I planned to drive 3 hours of the 5 hours drive, which put me in Knoxville and just before entering more mountainous terrain. The drive was much smoother than I expected and the midsize handled extremely well - no worries about back swaying or estimating the length of the bus. It took very little time to become accustomed to the arrangement of mirrors.
By the next morning, I was thrilled to hit the road again. Driving US40 into Asheville was beautiful. I took it slow and steady and had no problems with the turns and hills. I just cruised and let the reality of my future sink in... What started with admiration for my fam, Alan, and his bus turned in to my own adventure. I was recently visiting him and my other long-term chosen family that it really clicked:
I am a researcher, so when I go down a rabbit hole I dive deeeeeeepp. I've created spreadsheets of available buses with their details, RV appliances, and so much more. As I checked buses out, I noted what I liked and didn't like. I found that many of the buses I liked sold very quickly. One white bus was from a church with the church's name on the side. As much as I would love the irony of converting a church bus and calling it Grace or Saving Grace with this queerdo spreading the good word of inclusivity and justice, it was not to be. By which I mean, I was going to check it out and they just stopped responding and pulled the FB marketplace ad.
So, many unlocked treasures to dream about. But I reminded myself (and was reminded by others) to be patient. For now, I'll keep admiring and inquiring... |
AuthorI am just a noobie Skoolie and a queer nonbinary professor trying to see as much of the world as I can. Archives
July 2022
Categories |


RSS Feed